Getting Started
In the following sections, we will explain how to set up and use the system. Maan News is a modern PHP script that has been designed for Newspapers, magazines, blogs, portals either operated by any editorial, a team of gamers, game lovers, community… The design is made of creativity & imagination, a strong impression so it can attract its target users easily & quickly.. Although there're a lot of things written in this documentation, the theme itself is not hard to use. After installing the theme, you can discover everything yourself. This file is more of a reference if you do not know what to do, or if you are not familiar with Laravel
Maan News - Admin Panel
- Uploaded Date: 28-October-2024
- Project: Maan News
- Author: Acnoo
- Email: acnooteam@gmail.com
Thank you for purchasing our product. If you have any questions that are beyond the scope of this documentation file, please feel free to email us via our user page contact form or directly to email at acnooteam@gmail.com
Requirements
- PHP >= 8.1
- Ctype PHP Extension
- cURL PHP Extension
- DOM PHP Extension
- Fileinfo PHP Extension
- Filter PHP Extension
- Hash PHP Extension
- Mbstring PHP Extension
- OpenSSL PHP Extension
- PCRE PHP Extension
- PDO PHP Extension
- Session PHP Extension
- Tokenizer PHP Extension
- XML PHP Extension
For more information about deployment see the Laravel documentation here https://laravel.com/docs/10.x/deployment
Download Project from Envato
After successfully purchase Maan News download the project from Envato download page
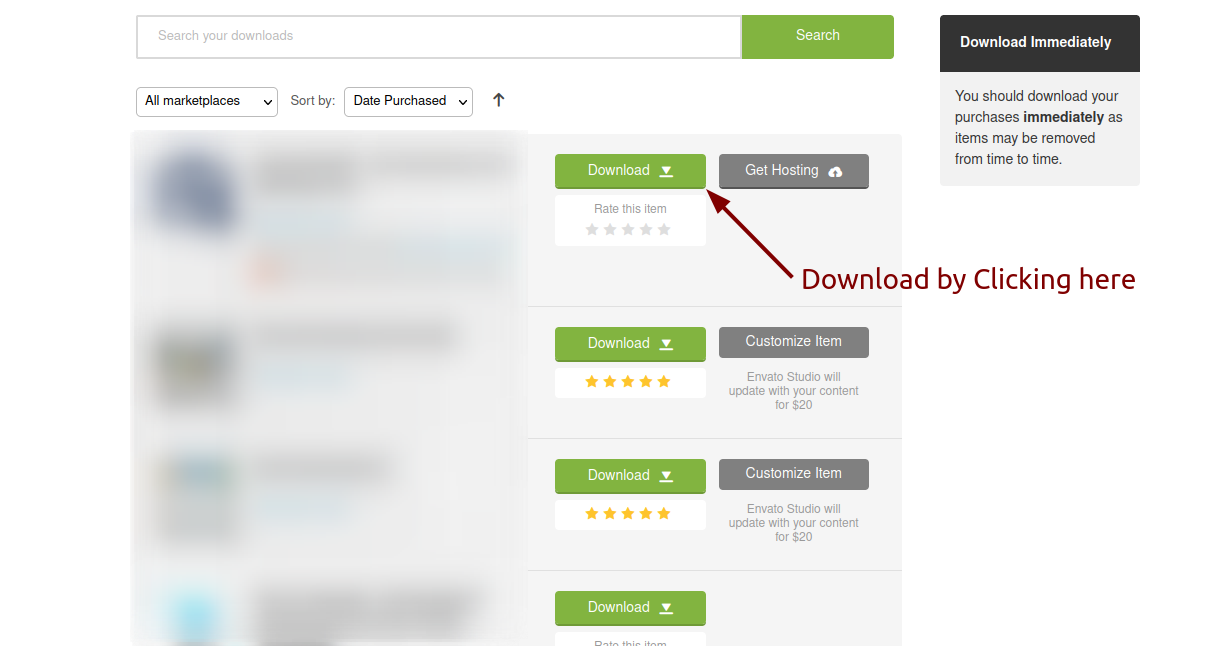
Extract the downloaded file. You will have another zip file named maannews.zip containing the main project's files and a documentation folder. You are reading this documentation, that means you already have theme both.
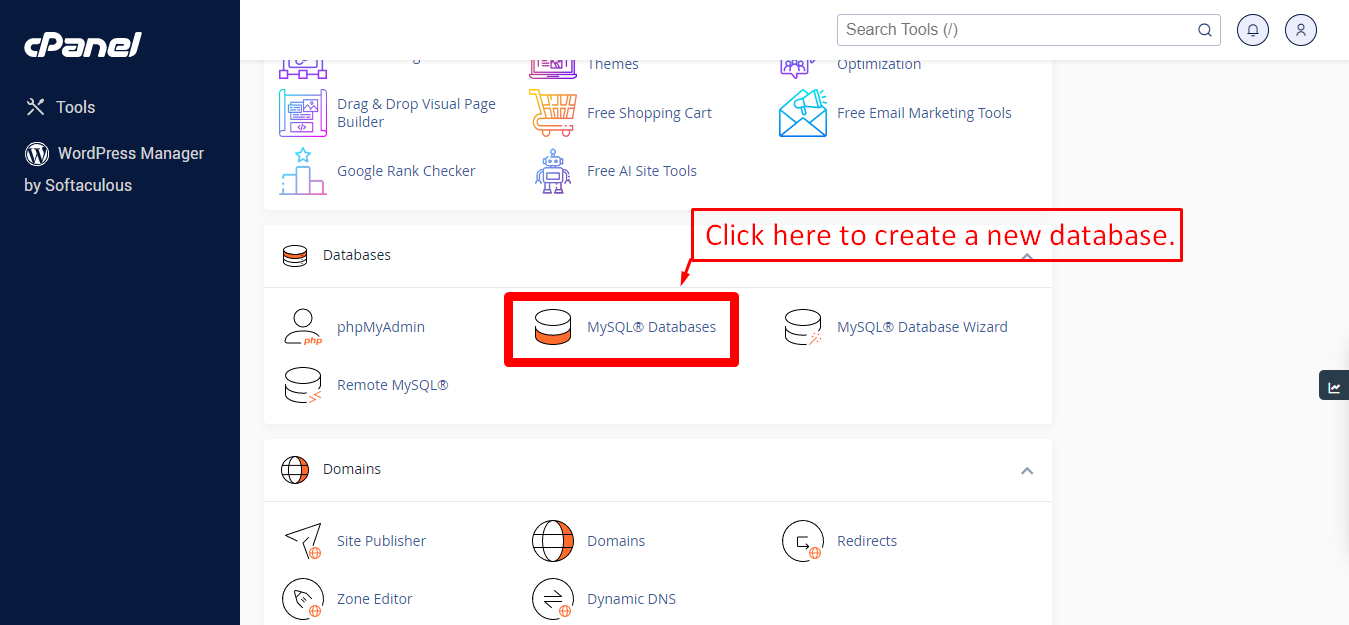
Creating Database
Before installing, you will need to create a new database. If you already know how to do this or have already created one, skip to the next step.
Note: Please use empty database. In most cases you should be able to create a database from your cpanel.
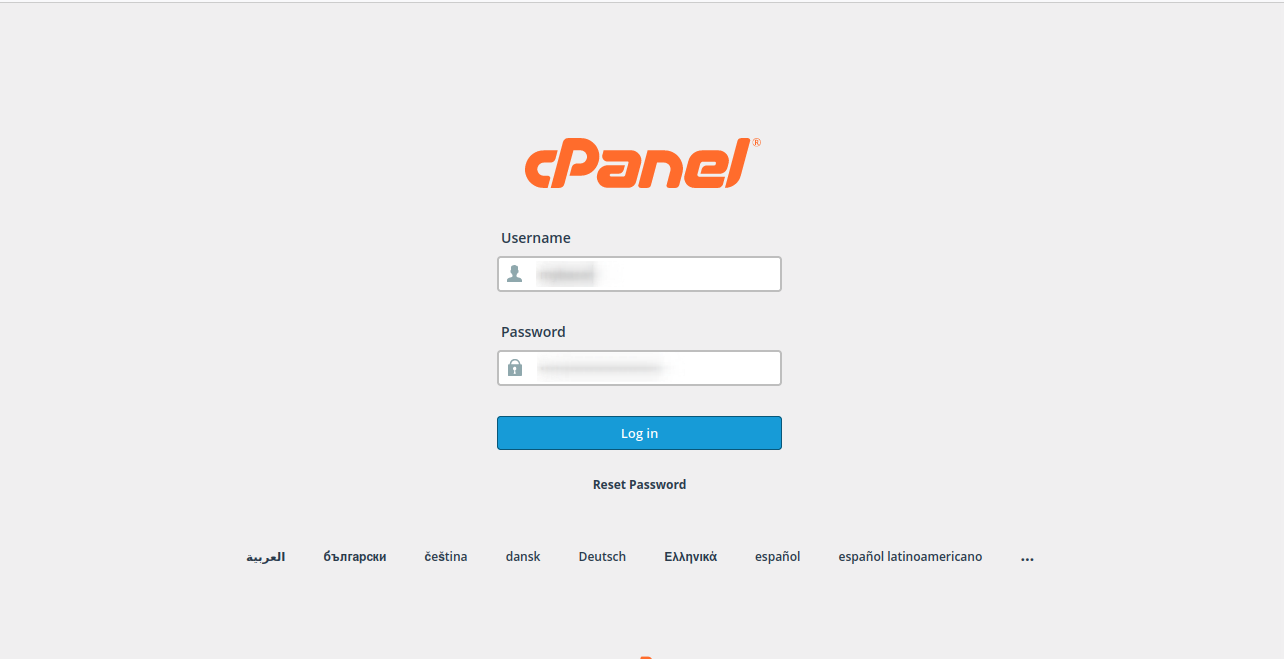
Login to your cPanel by entering this in your browser url
yourdomian.com/cpanel
Step: 1
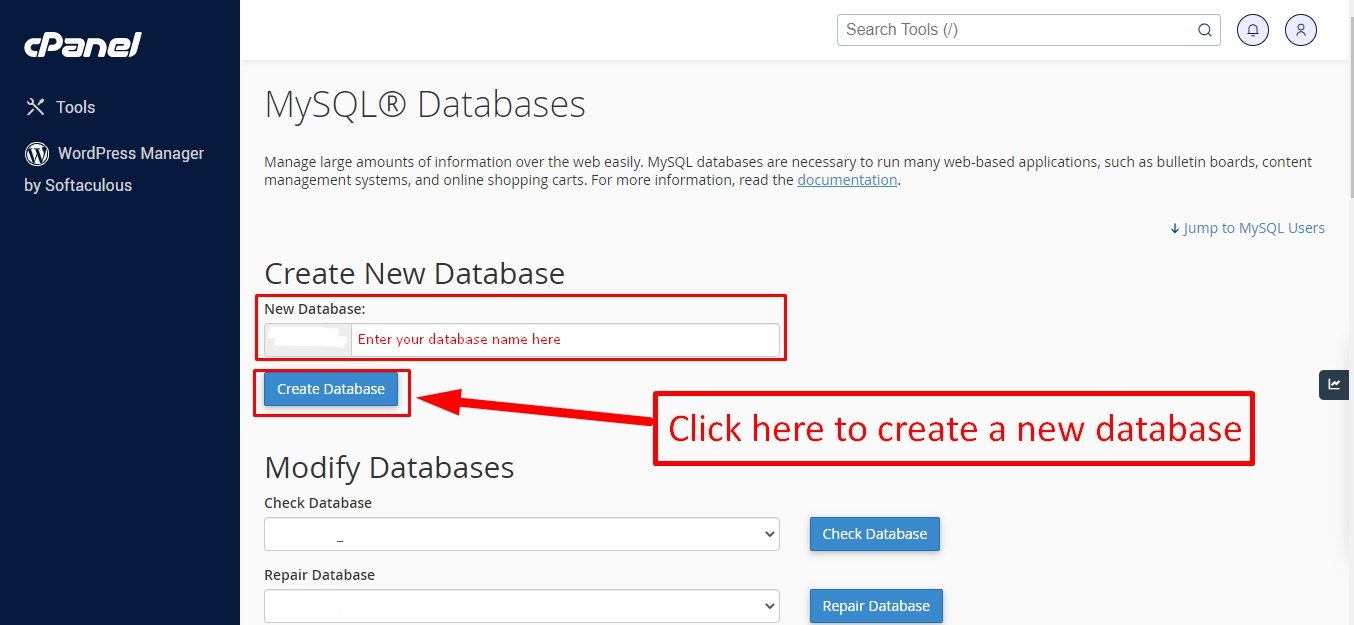
Step: 2
Step: 3
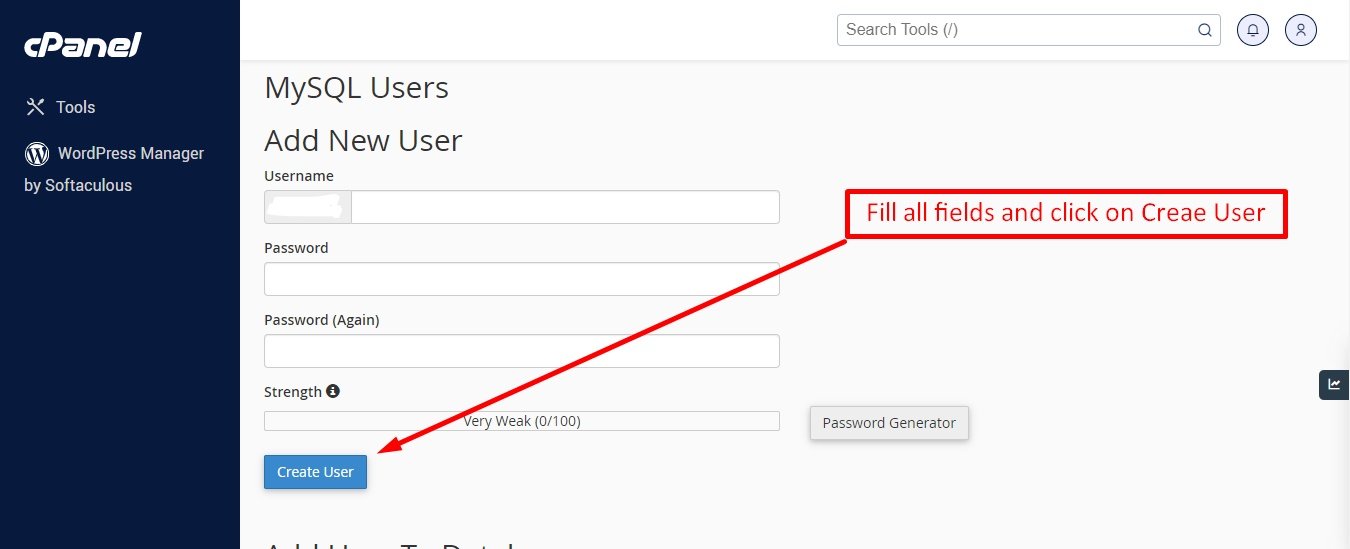
Now you need to create a new user. On the same page go to create a new database user
Step: 4
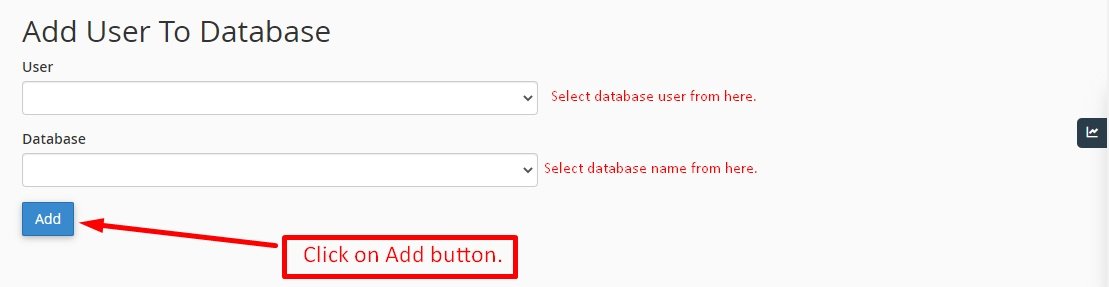
Now add the user to the database
Step: 5
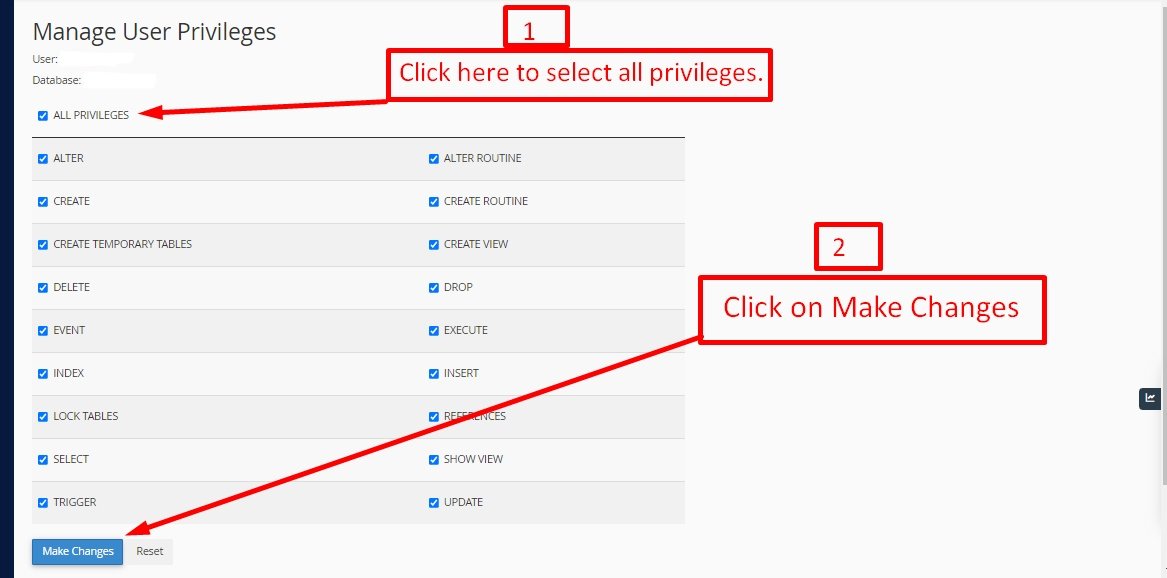
And select full permissions on the database to that user
Uploading Files
On some operating systems, the dotfiles are hidden by default. Before starting to upload the files, please make sure your file explorer has the option to view hidden files turned on.
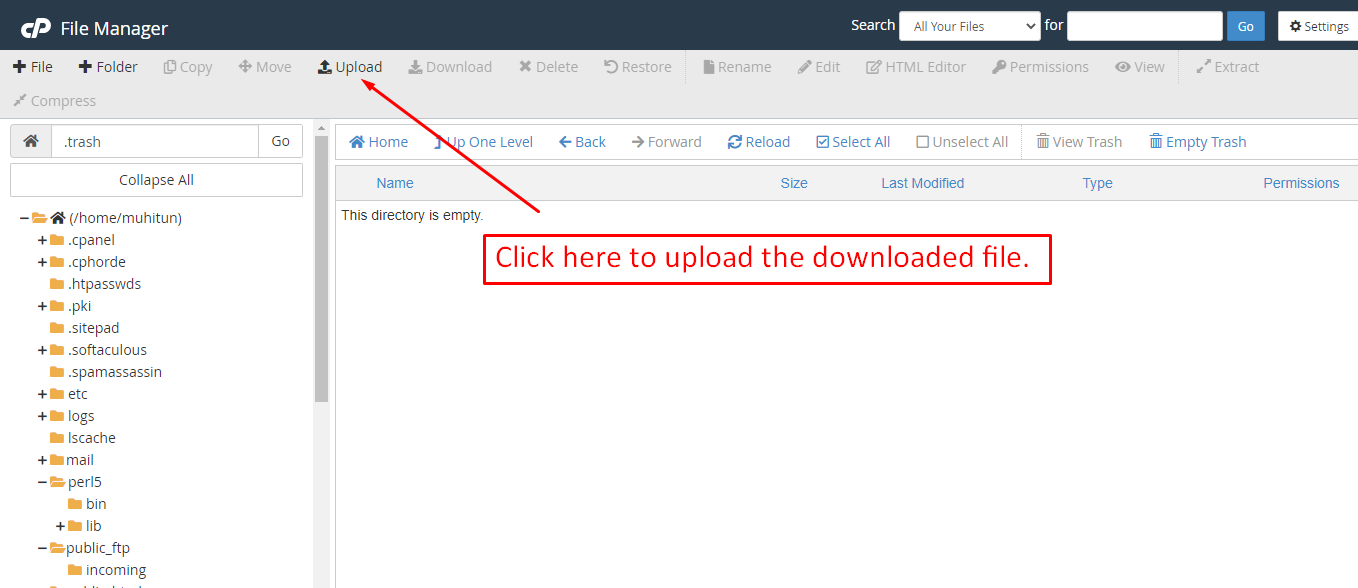
After creating a database, Upload the maannews.zip file on the web root folder of your domain. This folder is generally called public_html, html, or example.com, but depending on your server's configuration, it might be named differently.

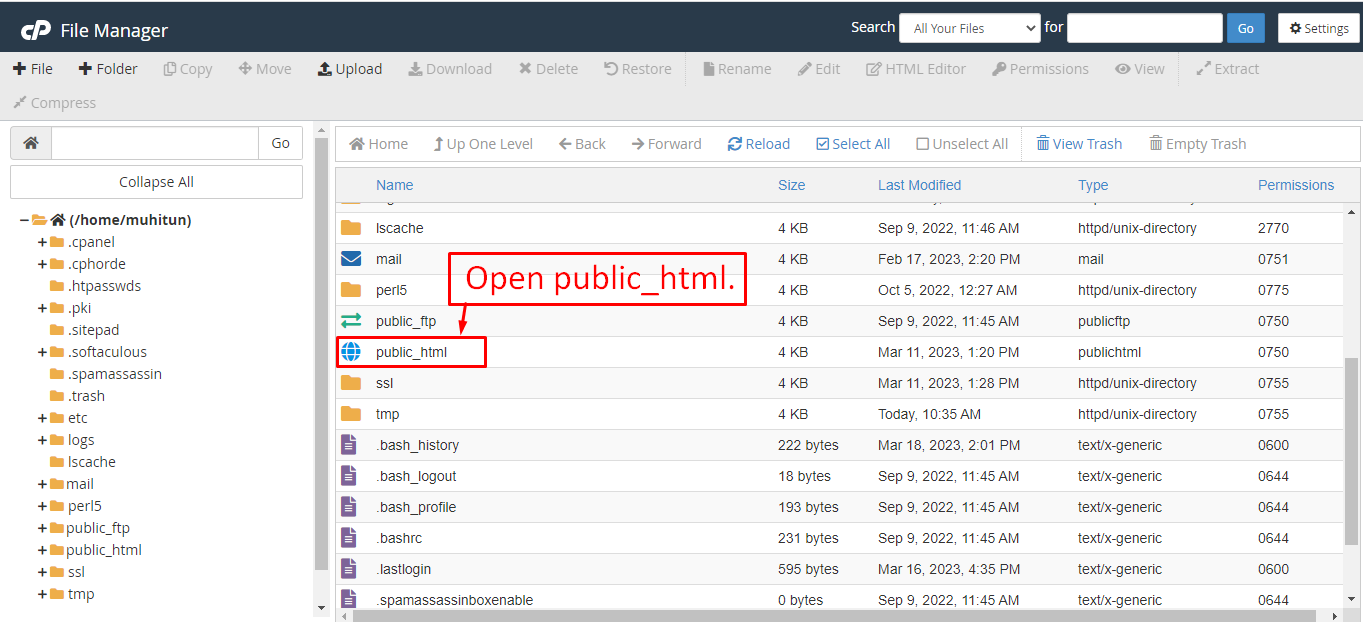
After that in the public_html directory upload the downloaded file.

Note: Important Make sure that you have .env file in your folder.
Note: Make sure that .htaccess file got copied properly from the download to your server.
Installation Wizard
Go to your website address, then you'll see an installation wizard. To open the installer. Visit
yourdomain.com/install
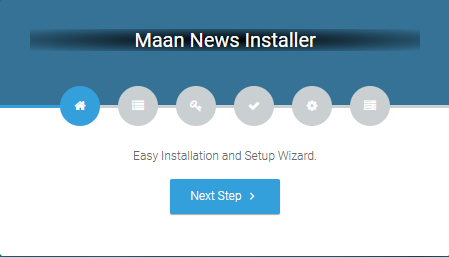
Now the installer will show up.The First screen will be Welcome Screen
Note : If you are not able to access the website by accessing yourdomain.com/install, but you are able to access it via yourdomain.com/index.php/install, this means that you probably don't have Apache mod_rewrite installed and enabled.
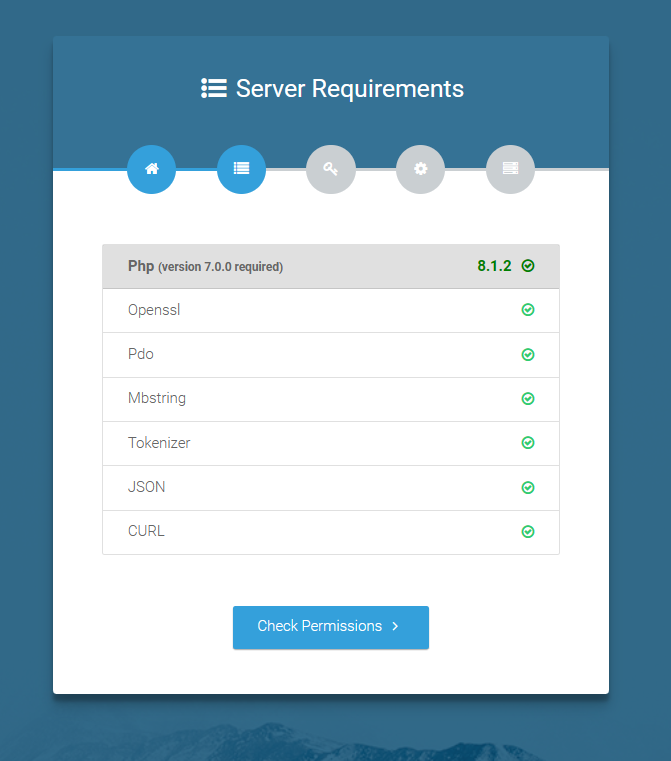
Server Requirements
After clicking on "Check requirement" button, you will be redirected to System Requirements step during the installation wizard, System Requirements.
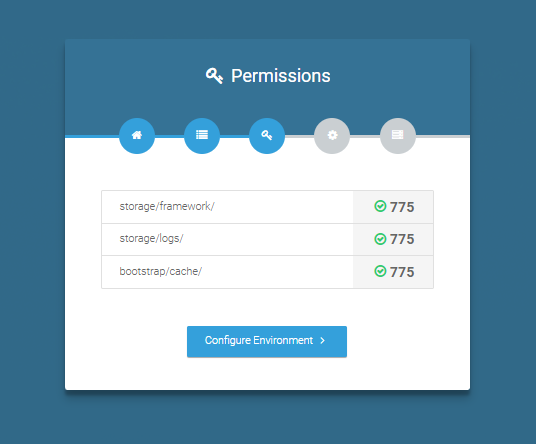
Directory Permissions
After successfully enabling and installing all required PHP extensions, next step is to set the appropriate permissions for some system folders that shows on below picture.
For giving permissions please open your terminal window. and type command sudo
chmod
777 directory_name for example sudo chmod 777 app
Note : If your control panel has no terminal window, then go to public_html or the directory where you have uploaded the project. now give permission for some system folders that show on Installer. For example, we have demonstrated storage/framework directory permission in the below image.
Open required directory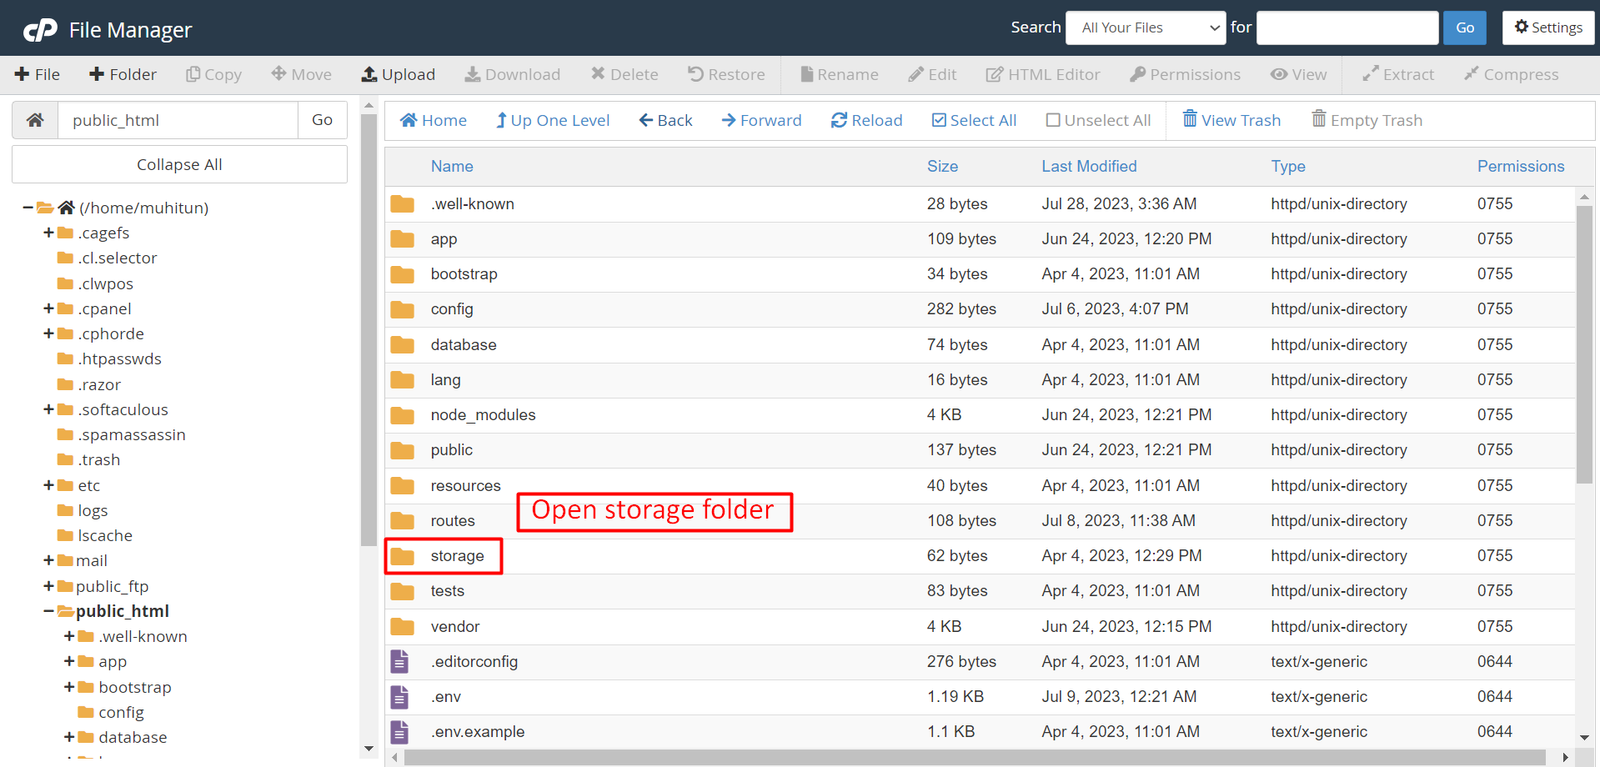 Change permissions for specific directory
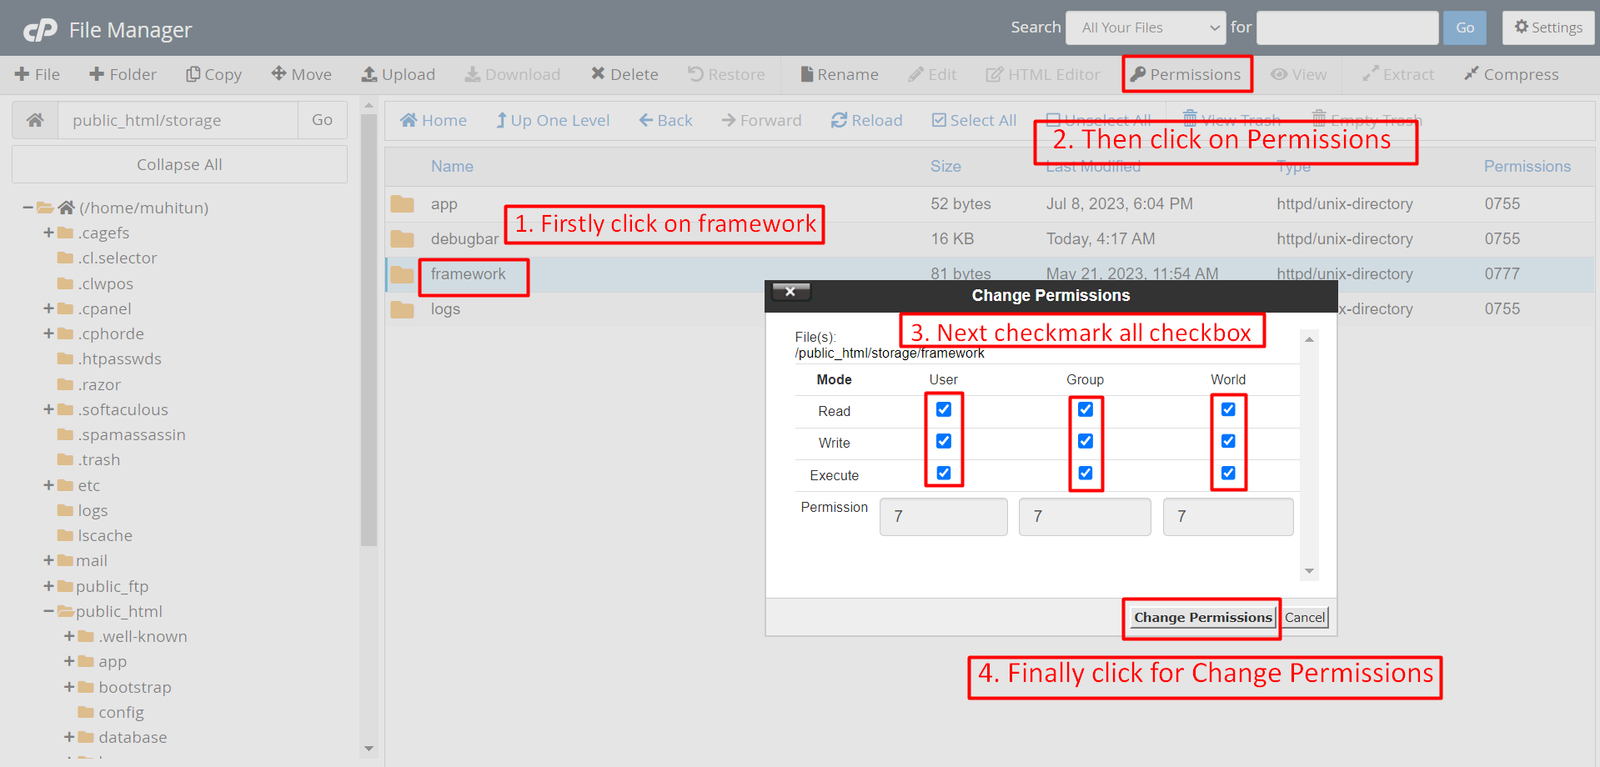
Note: You have to change the directory permissions for the storage/logs and bootstrap/cache folders as shown in the image. If these folders do not have the correct permissions, please adjust them accordingly.
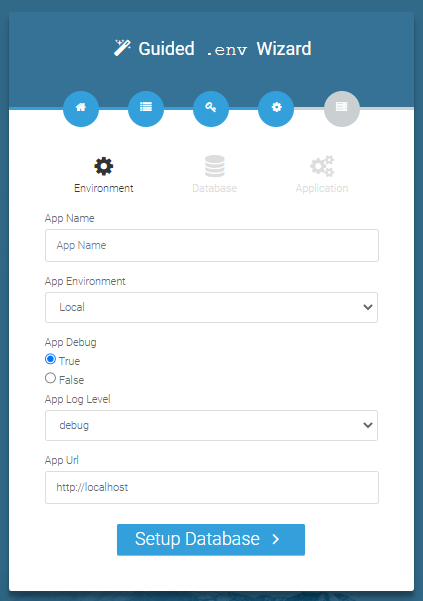
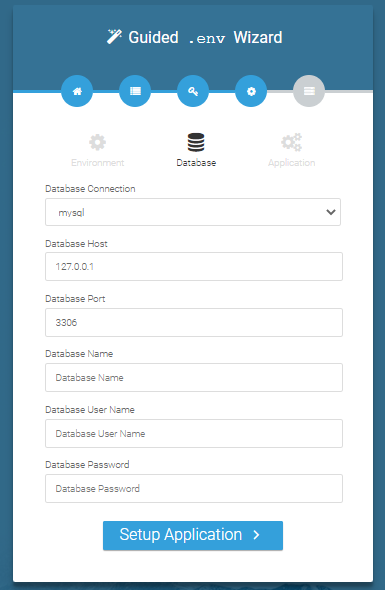
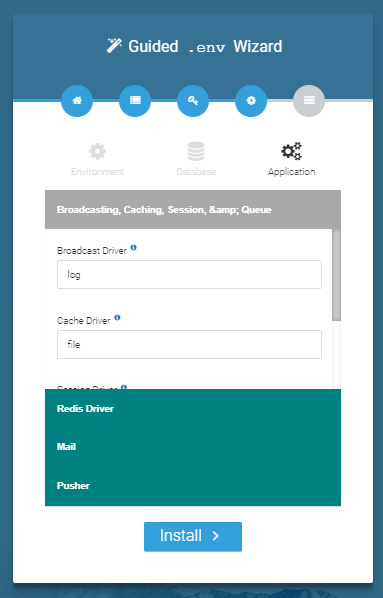
Database/Environment Setting
You have to fill in your database credentials
Exit
The last step is exit step.

Congratulations you have successfully installed this project on your server. 😀
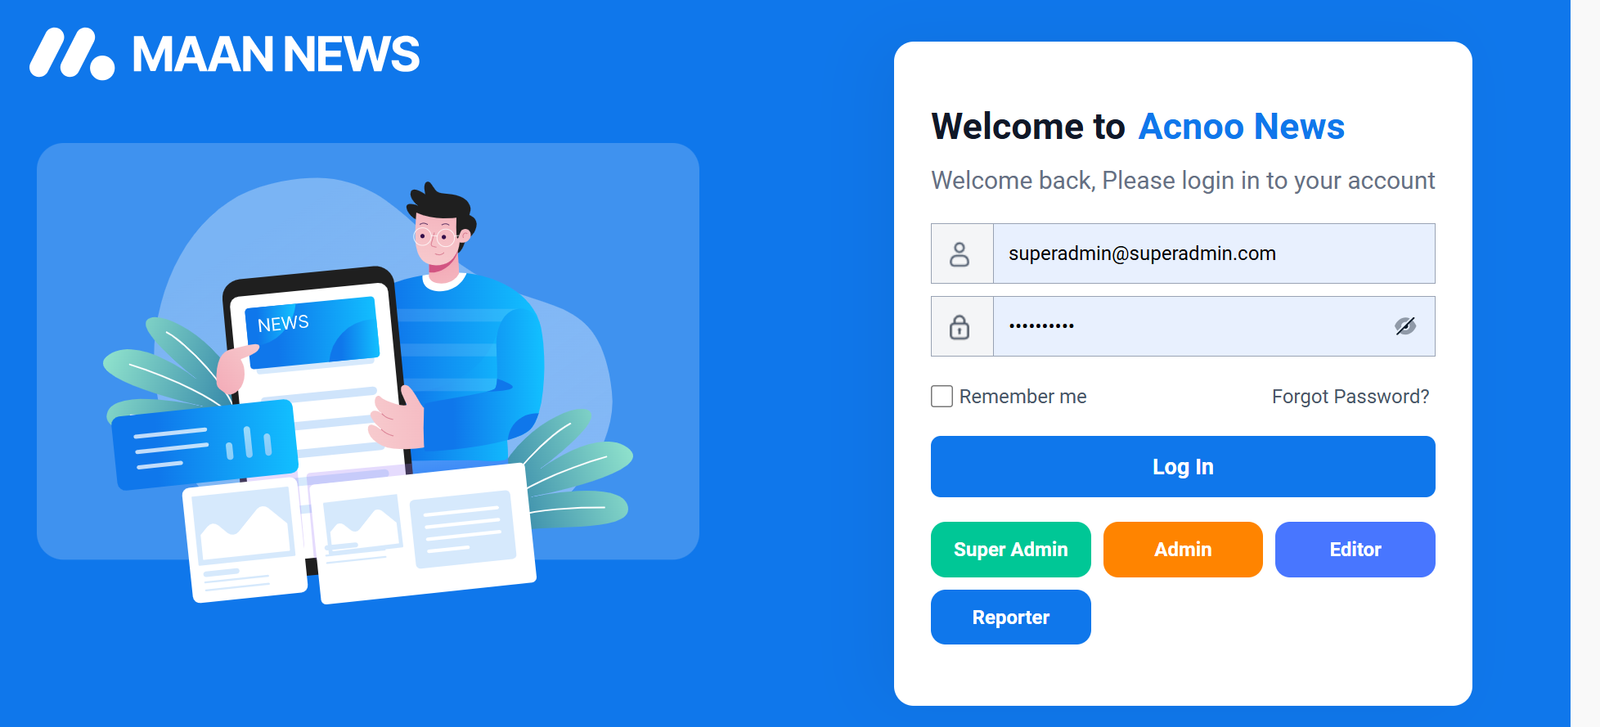
Default Password
You can login using several methods depending on your role.
Super Admin
superadmin@superadmin.com
superadmin
Admin
admin@admin.com
admin
Editor
editor@editor.com
editor
Reporter
reporter@reporter.com
reporter
In this project, different modules are assigned based on user roles: Super Admin, Admin, Editor & Reporter. Each role has distinct responsibilities tailored to their specific tasks and permissions. Below, we will discuss how each user role operates within the system.
Dashboard
This is the admin dashboard page. The essential information regarding the project are displayed here.

User Manage
Here you can manage users and see Subcscriber list.
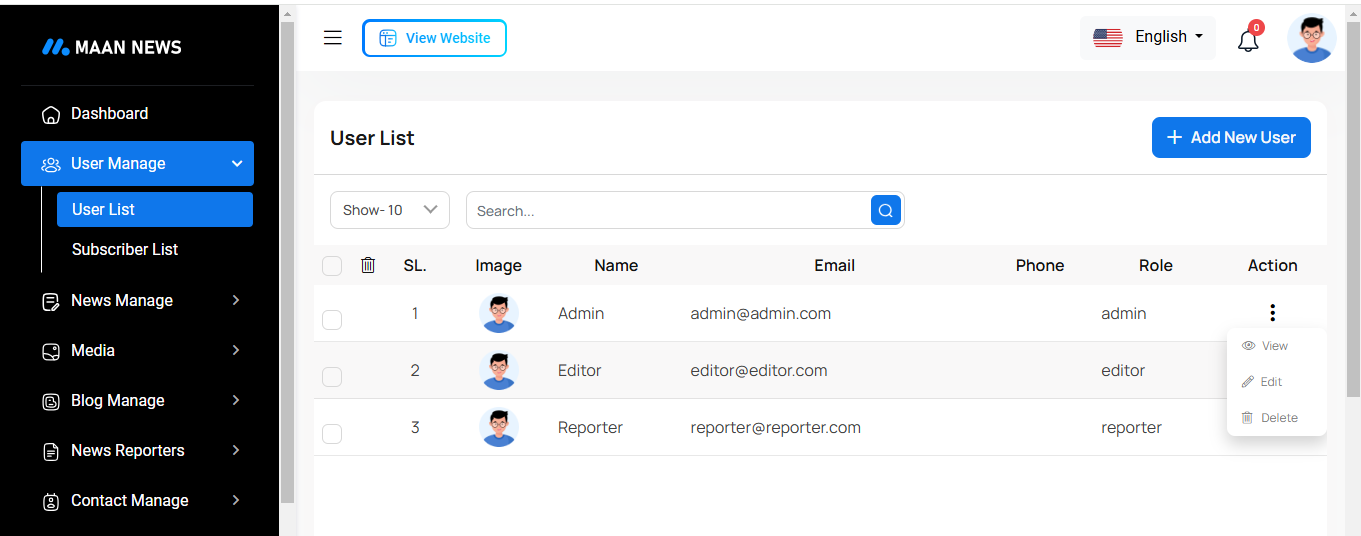
User List
This list provides a view of all users with options to create, view, edit, delete, and delete multiple users at once.
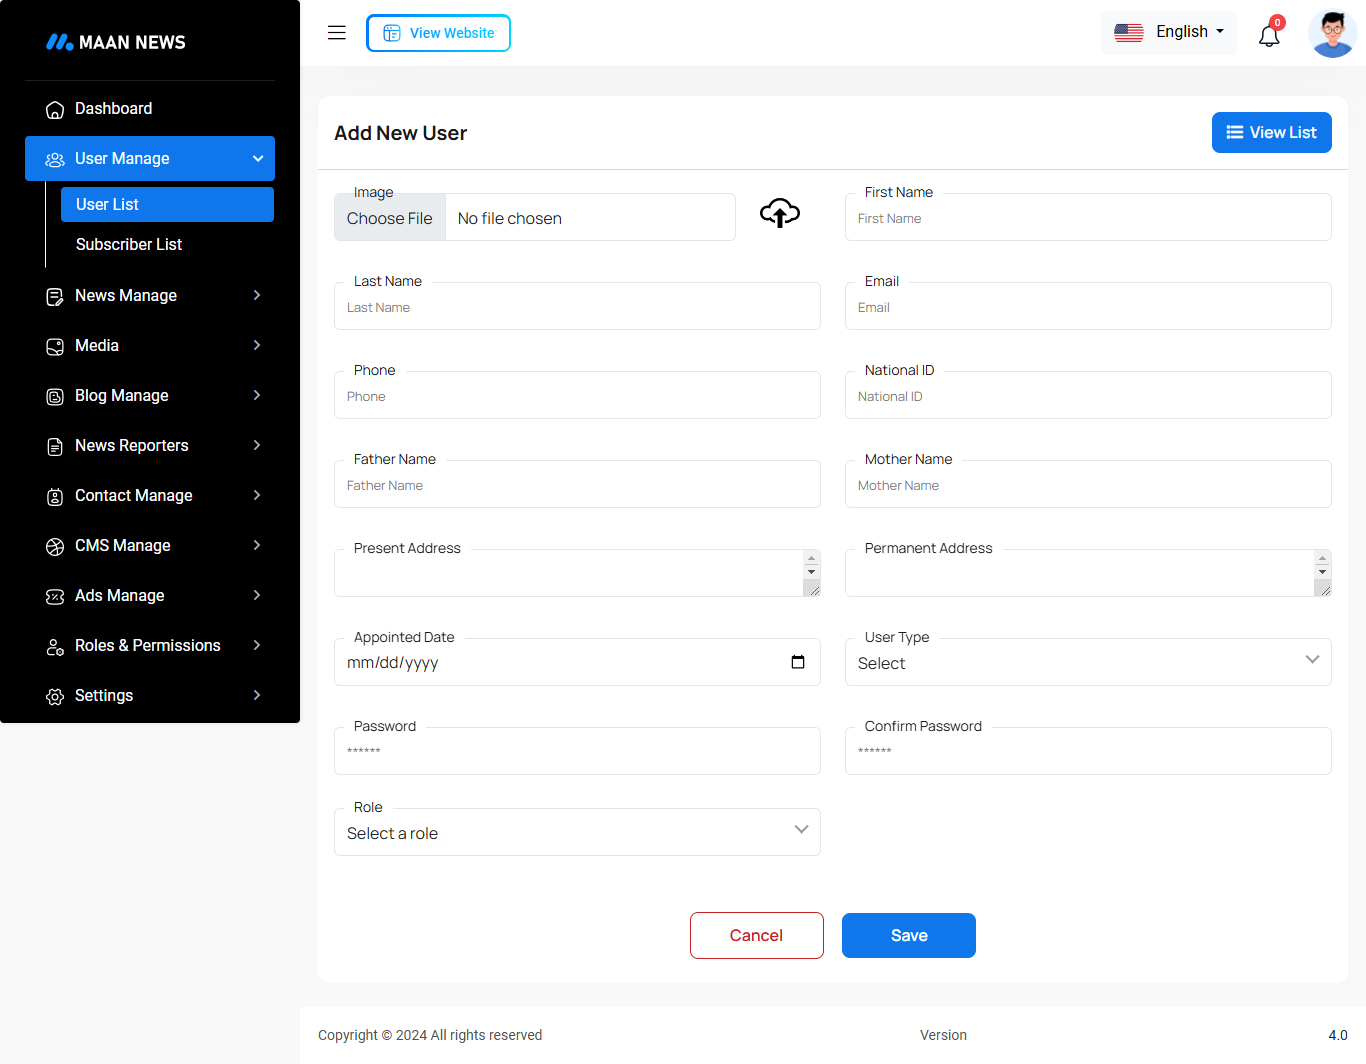
Create User
You can create a user by filling out the necessary fields. Please ensure that the email and password are entered carefully.
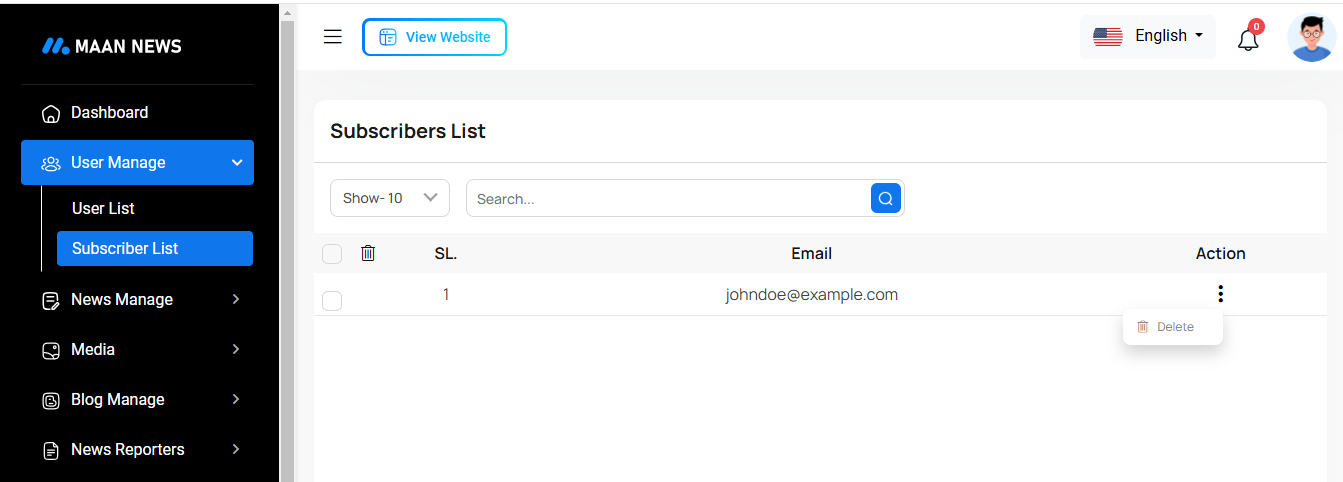
Subscriber List
This list provides a view of all Subscriber with search and delete option available.
News Category
Here you can manage News Category and see the list.
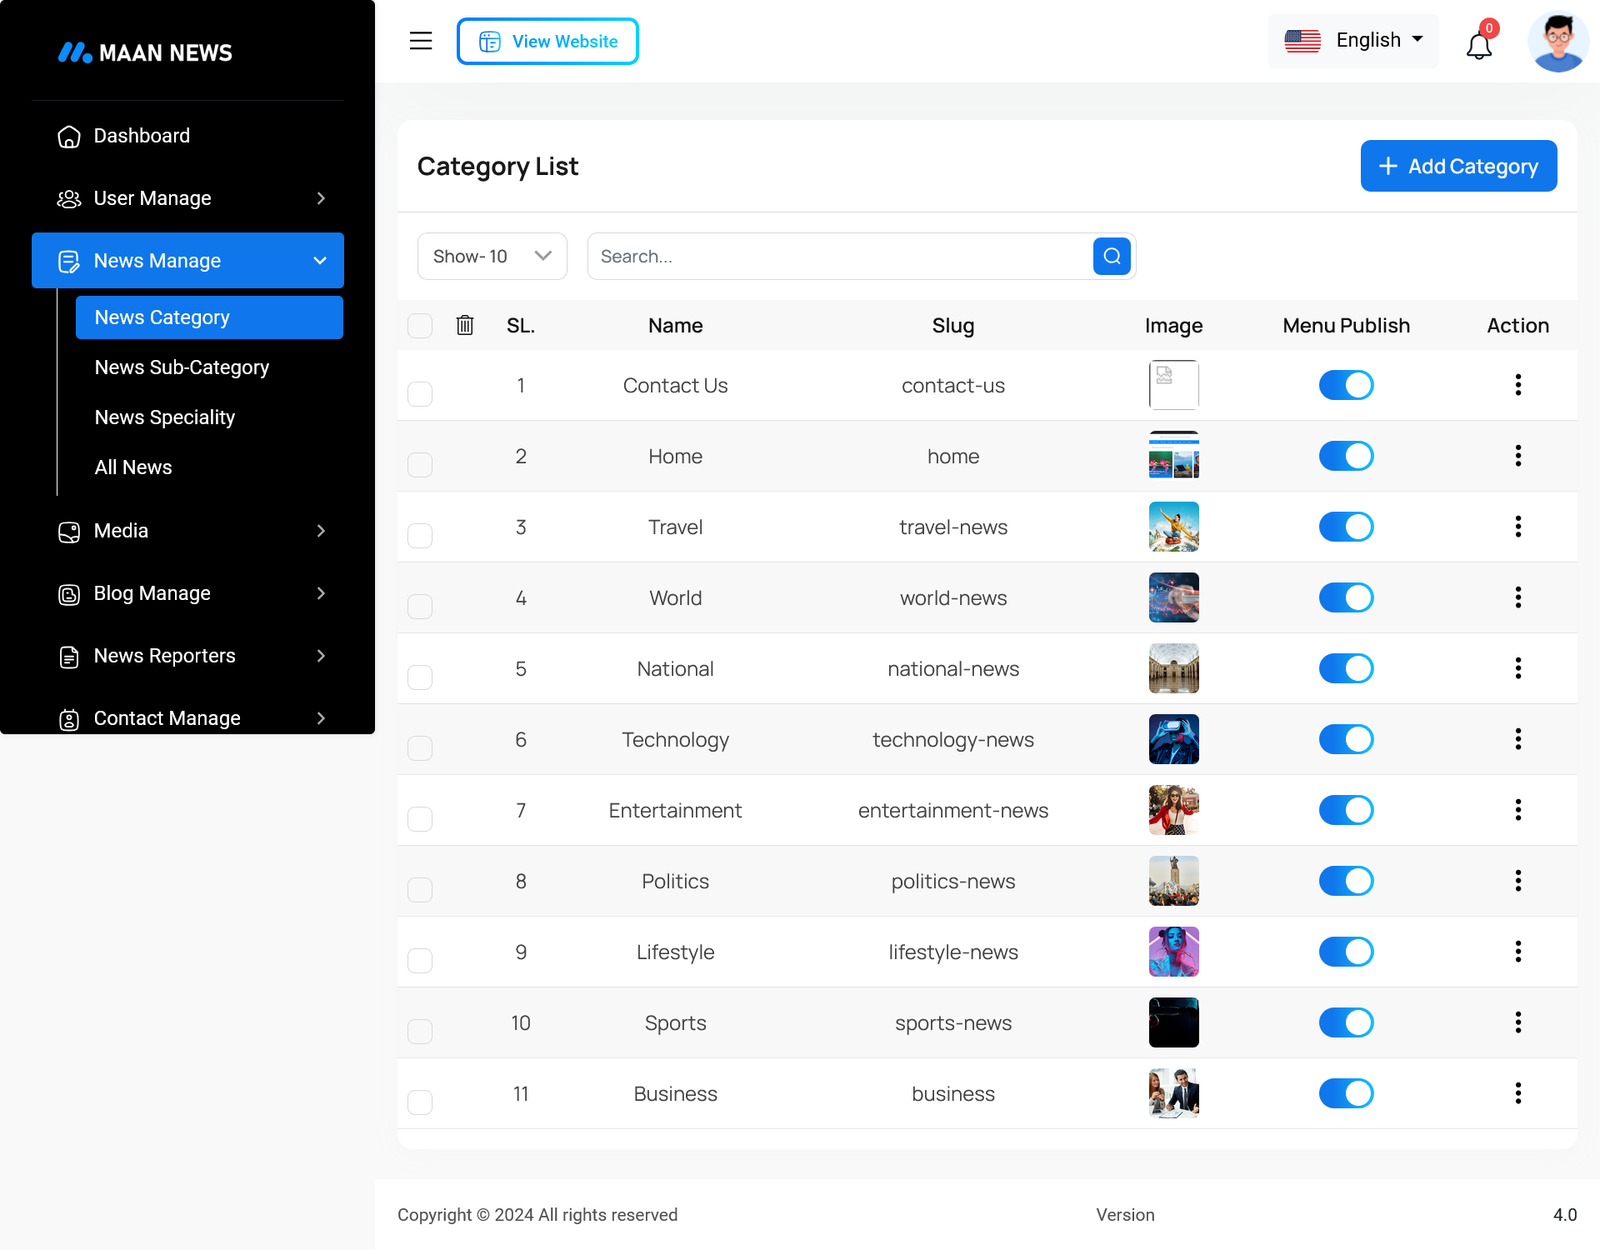
News Category List
The News Category section is part of the "News Manage" module in the MAAN News system. This interface allows administrators to manage news categories efficiently by adding, editing, and deleting categories. Below is a breakdown of each feature in this section.
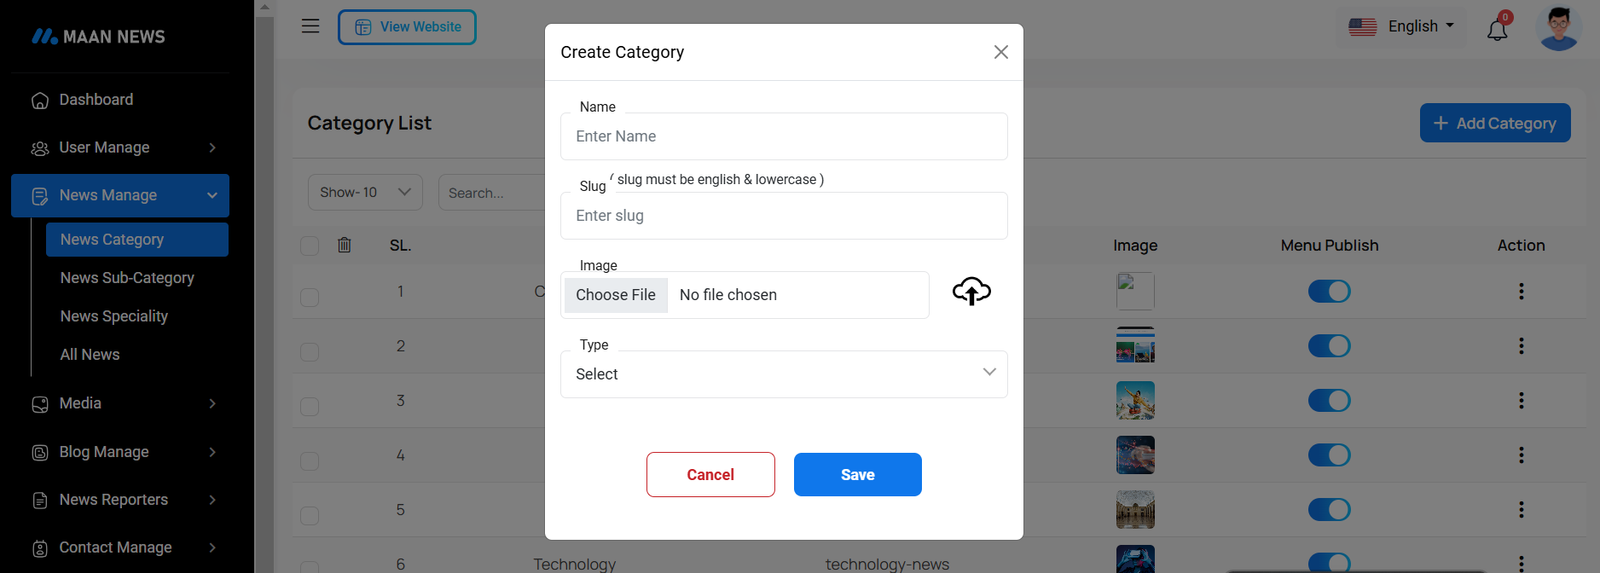
Create Category
You can create a category by filling out the necessary fields.
News Sub Category
Here you can manage News Sub Category and see the list.
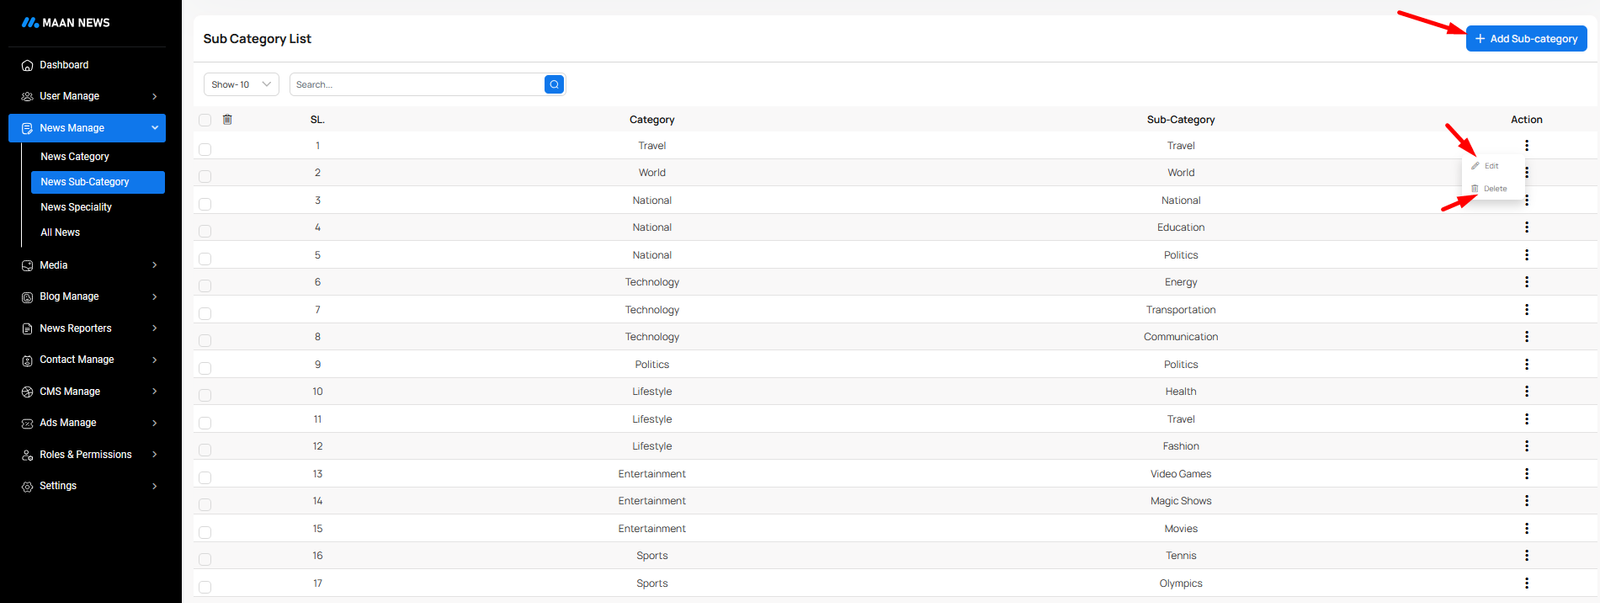
News Sub Category List
The News Sub Category section is part of the "News Manage" module in the MAAN News system. This interface allows administrators to manage news sub categories efficiently by adding, editing, and deleting categories. Below is a breakdown of each feature in this section.
Create Sub Category
You can create a sub category by filling out the necessary fields.
News Speciality
Here you can manage News Speciality and see the list.
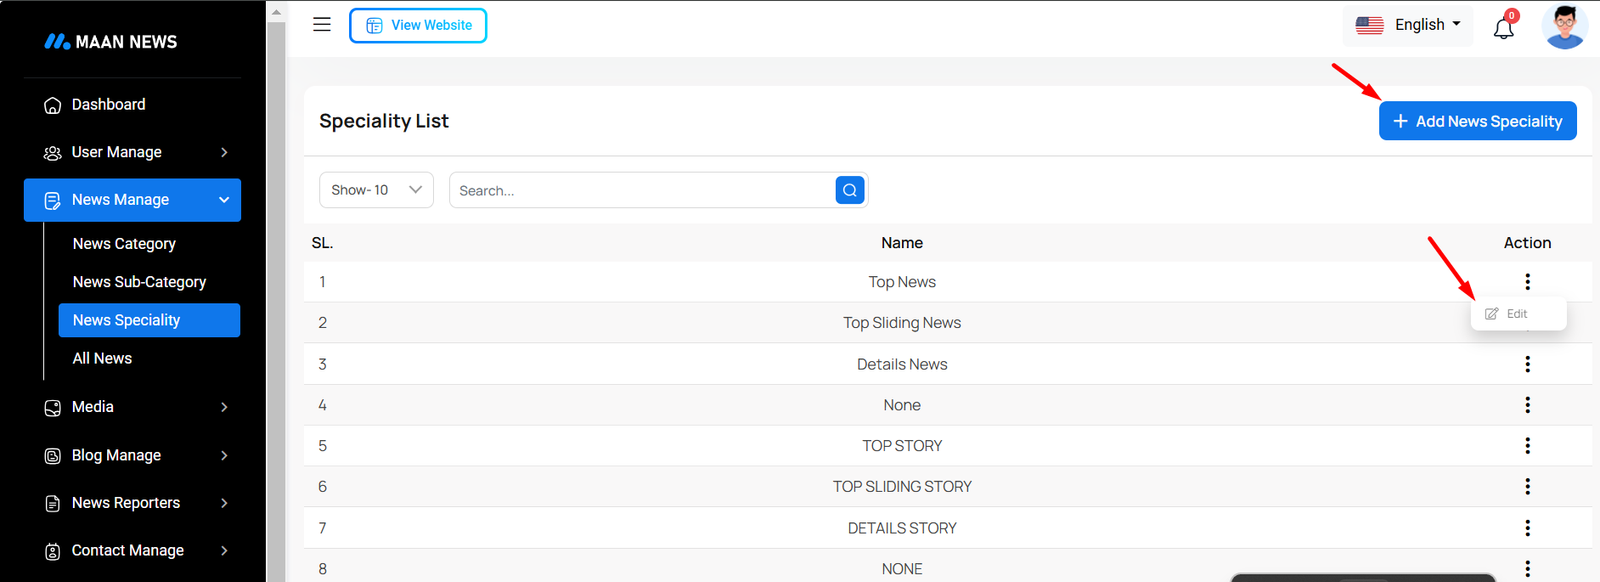
News Speciality List
This section enables administrators to manage special categories or types of news, known as "News Specialities," which help in categorizing and highlighting certain types of news content (e.g., Top News, Sliding News).
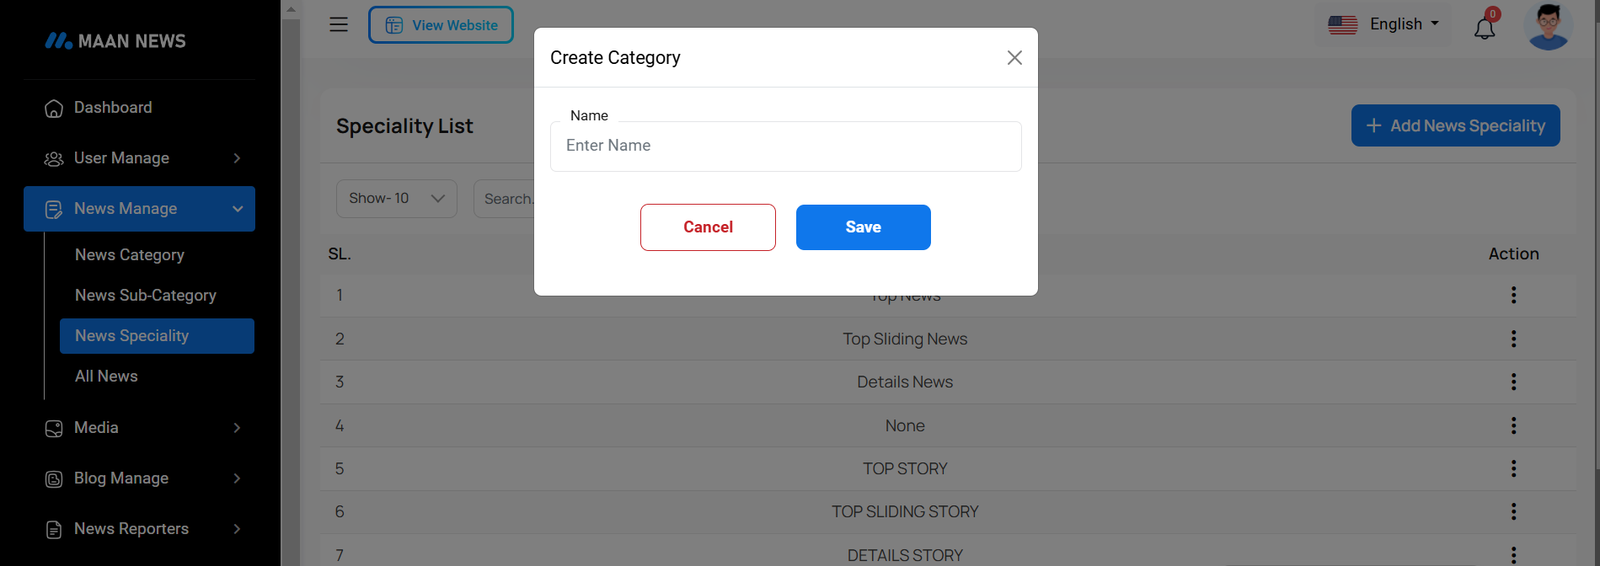
Create Speciality
You can create a Speciality Category by filling out the necessary fields.
All News
Here you can manage All News and see the list.
All News List
This section helps administrators manage the complete list of news articles, including creating new ones, updating existing content, and controlling the publish status and special tags like "Breaking News.

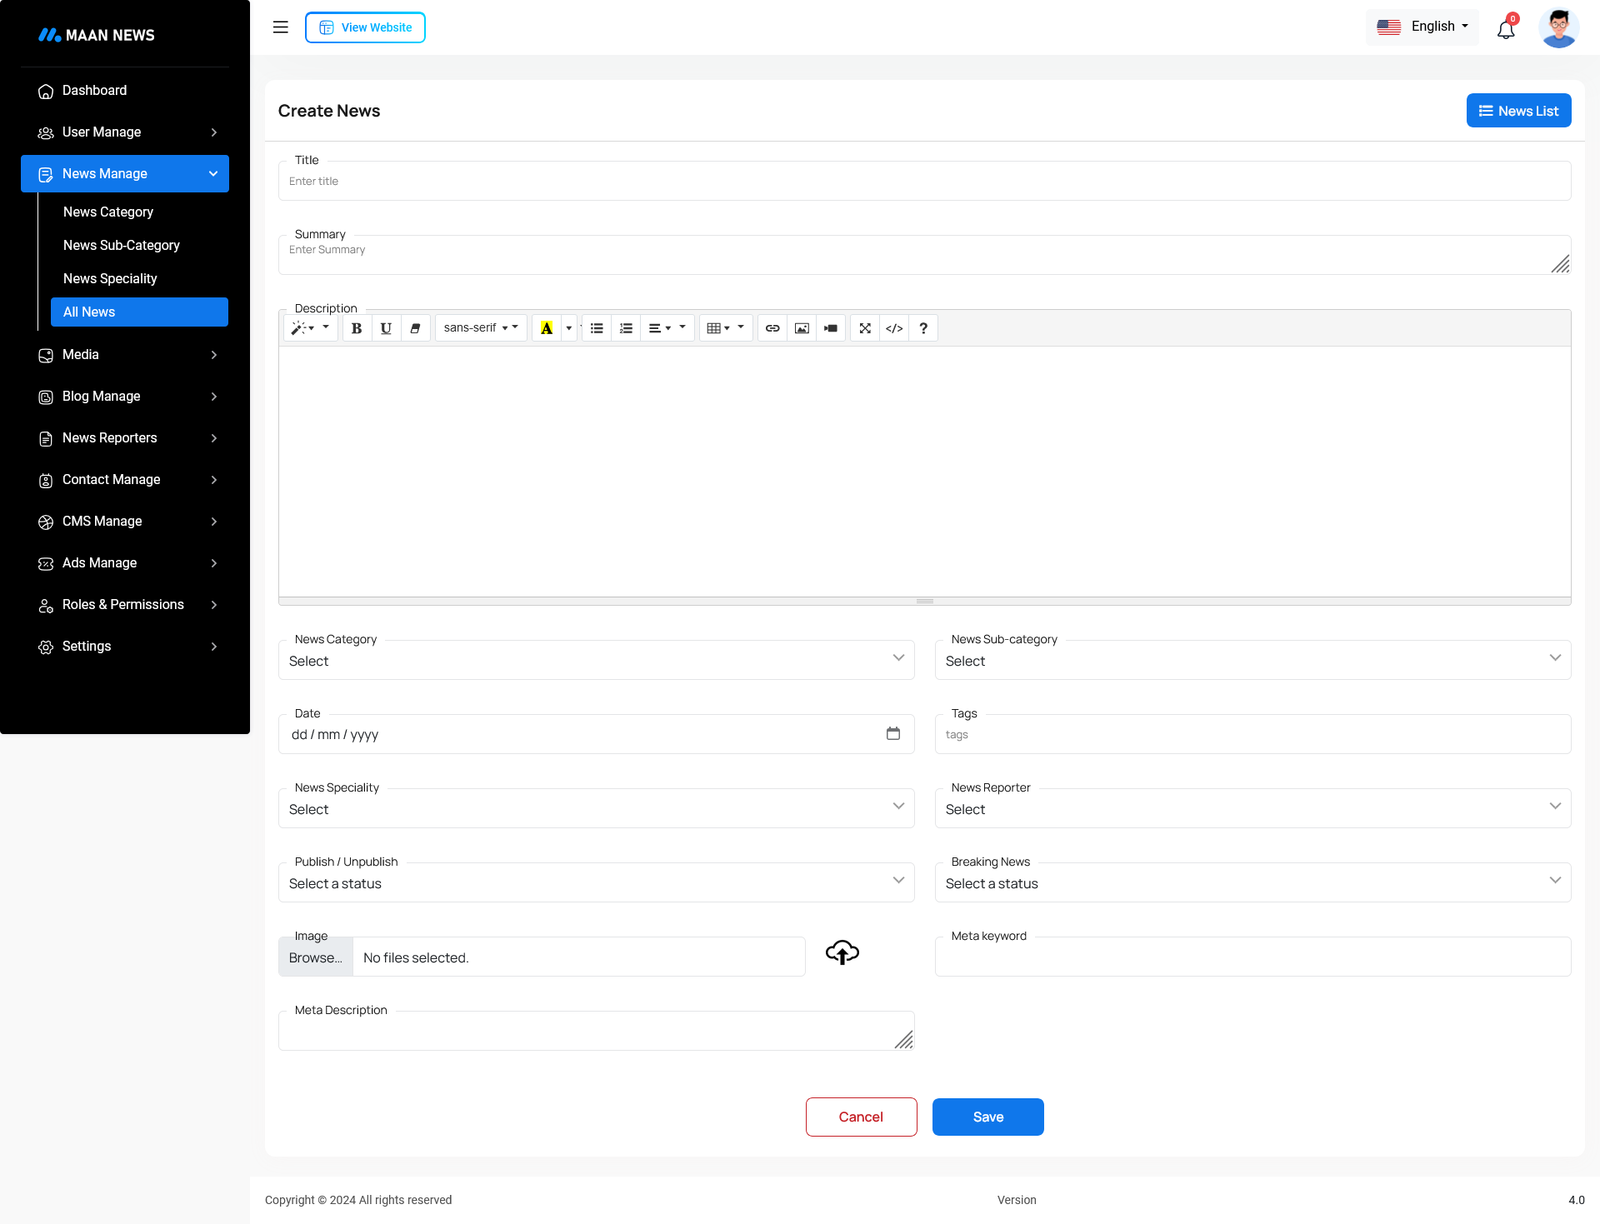
Create News
You can create a News by filling out the necessary fields.
Media
Here you can manage the photo and video gallery with various functionalities
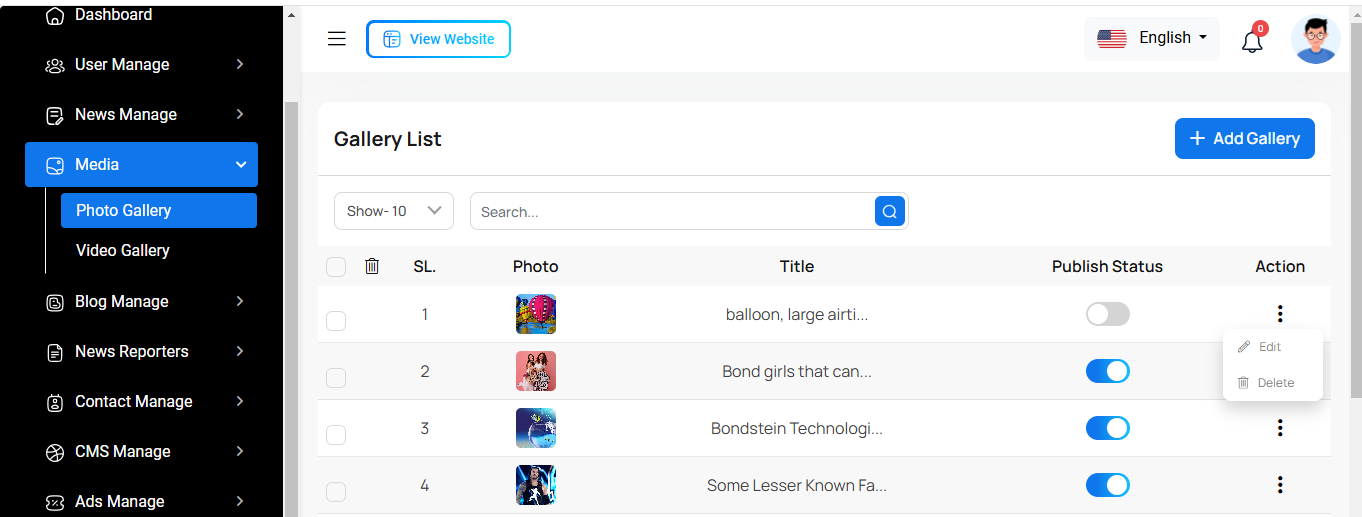
Photo Gallery List
This list displays all photos in the gallery, allowing you to filter by status and search. You can also edit, delete, or delete multiple photos at once.
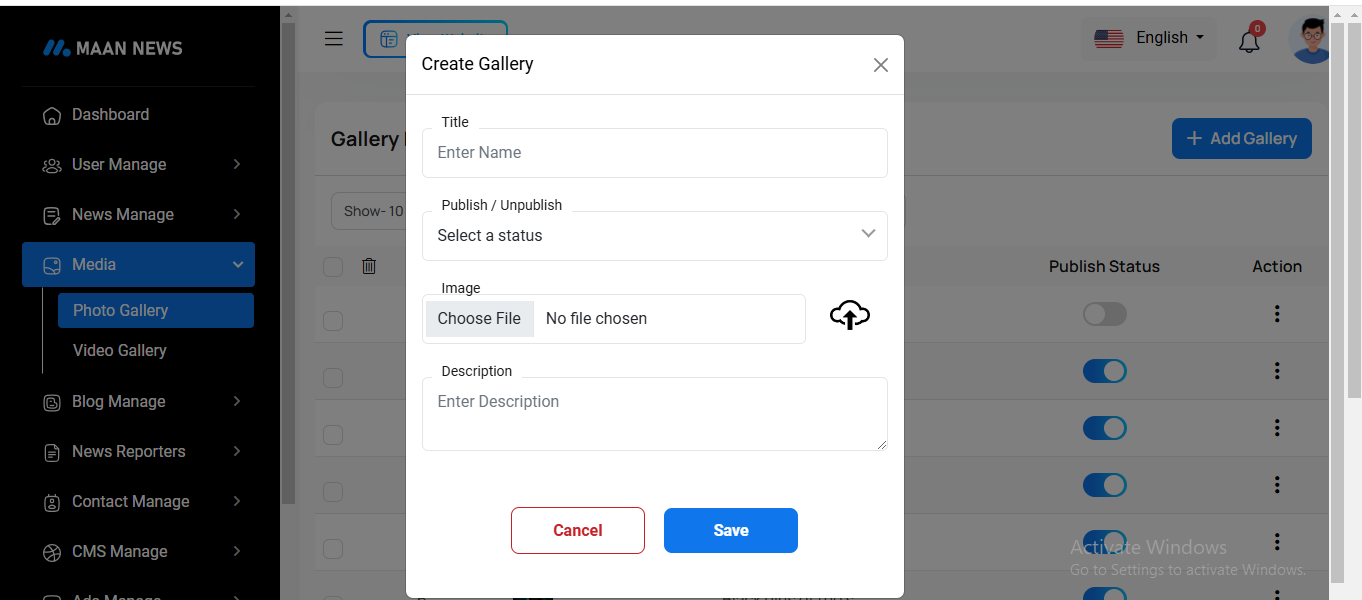
Add Photo Gallery
By clicking on the "Add Photo Gallery" button, you can create a new photo. You will need to fill in the necessary fields. Here is the screenshot of the create photo page.
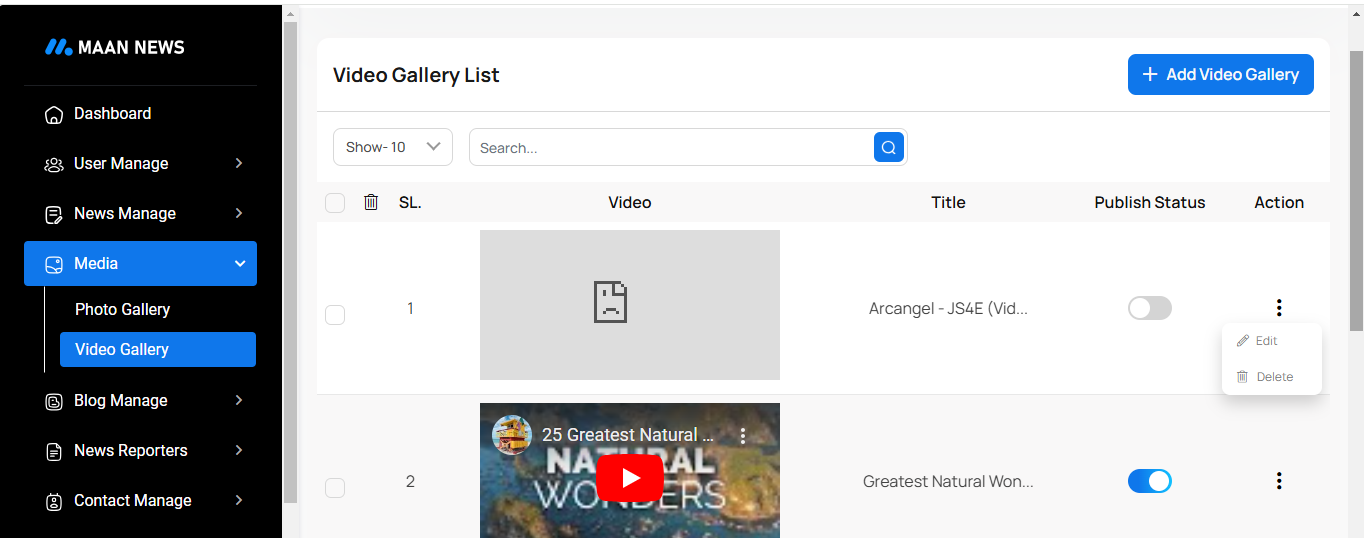
Video Gallery List
This list displays all videos in the gallery, allowing you to filter by status and search. You can also edit, delete, or delete multiple videos at once.
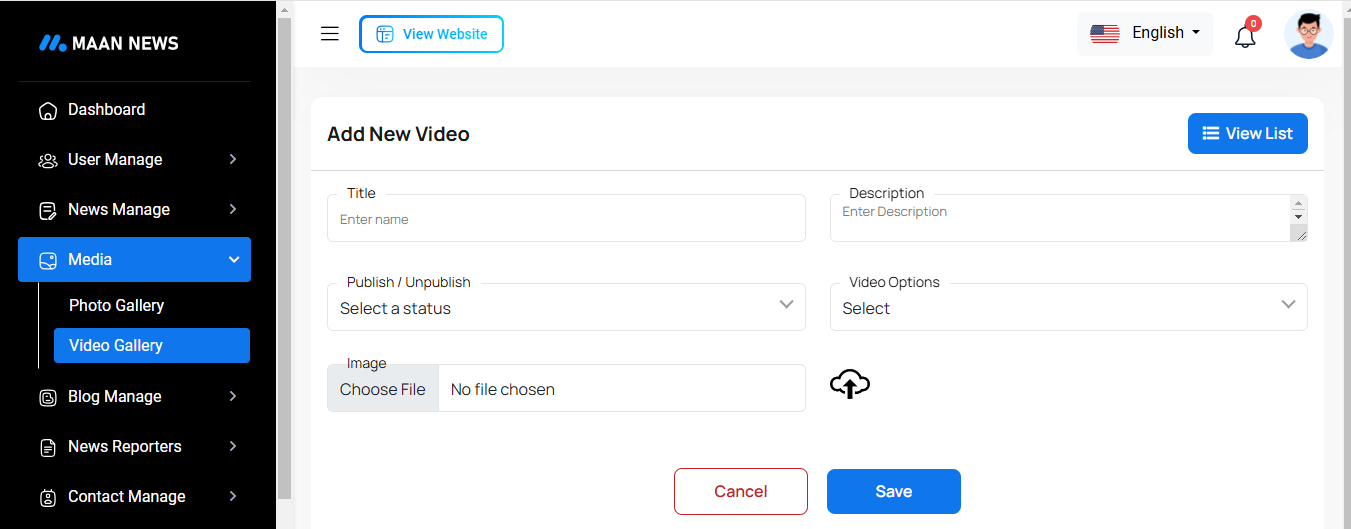
Add Video Gallery
By clicking on the "Add Video Gallery" button, you can create a new video. You will need to fill in the necessary fields. Here is the screenshot of the create video page.
Blog Manage
Here you can manage Blog Categories , Blog Sub-Categories and Blogs and see the list.
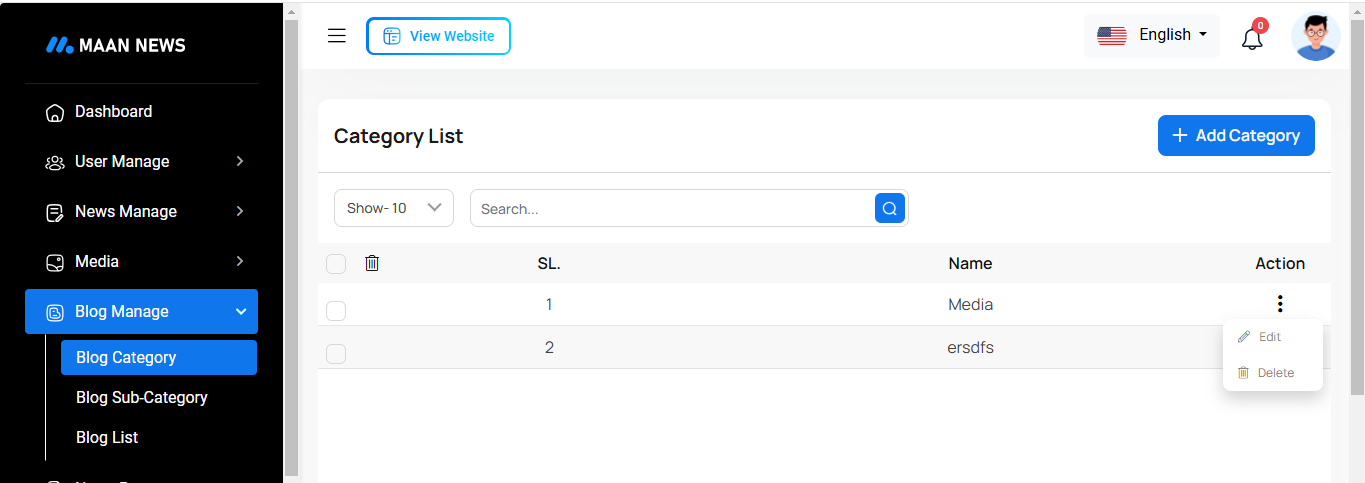
Blog Category
This list displays all blog categories with options to create, view, edit, delete, and delete multiple categories at once. To create a new blog category, simply enter the category name.
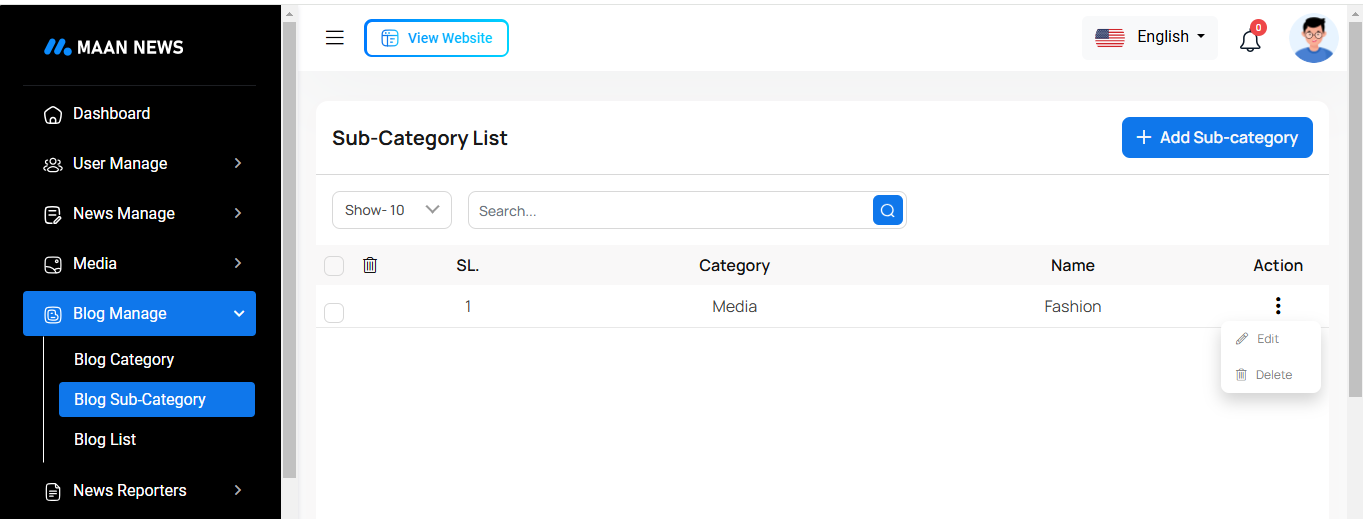
Blog Sub-Category
This list shows all blog subcategories, offering options to create, view, edit, delete, and delete multiple subcategories at once. To create a new blog subcategory, simply enter the category name and select the corresponding blog category.
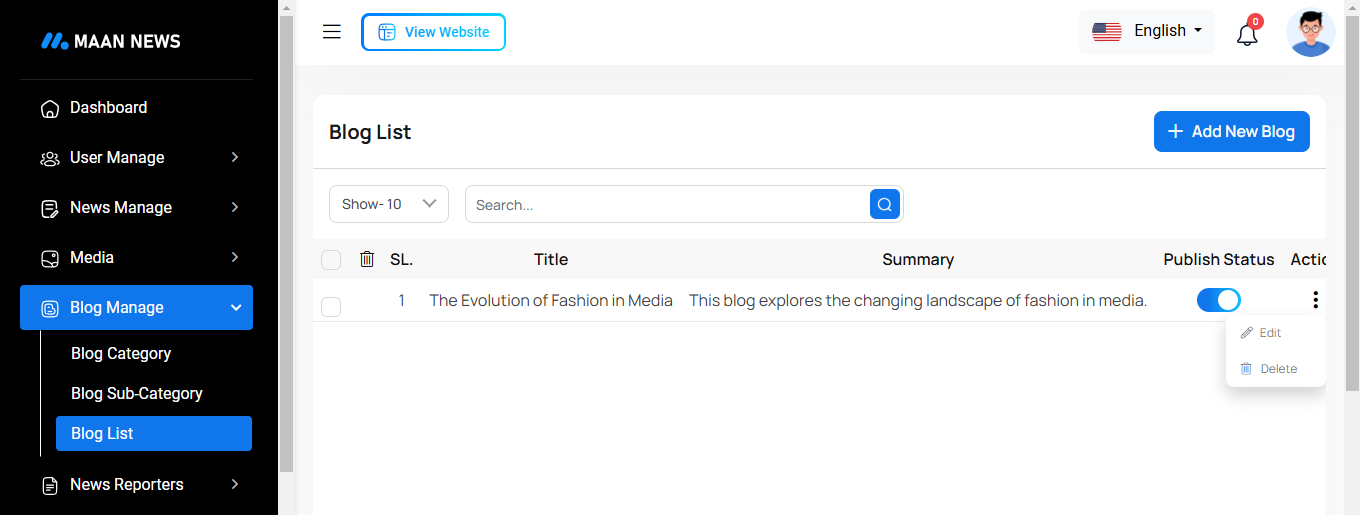
Blog List
This list provides a view of all blog posts with options to create, view, edit, delete, and delete multiple blog posts at once.
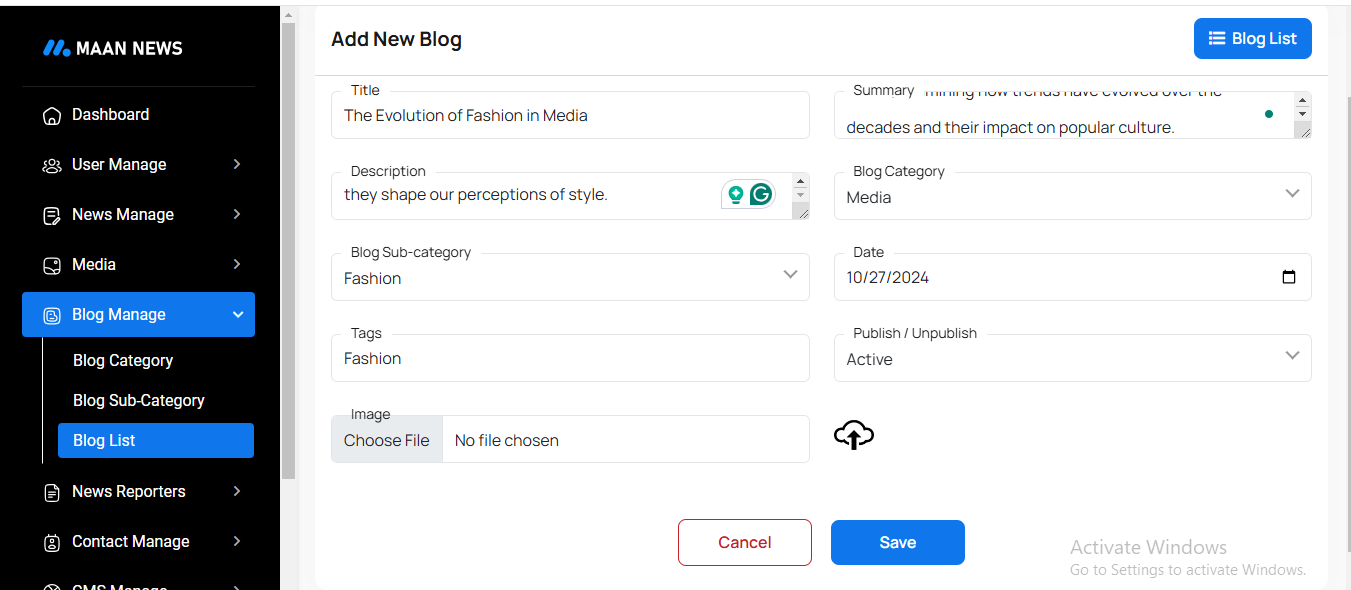
Create Blog
You can create a blog by filling out the necessary fields. Please ensure that the title and content are entered carefully.
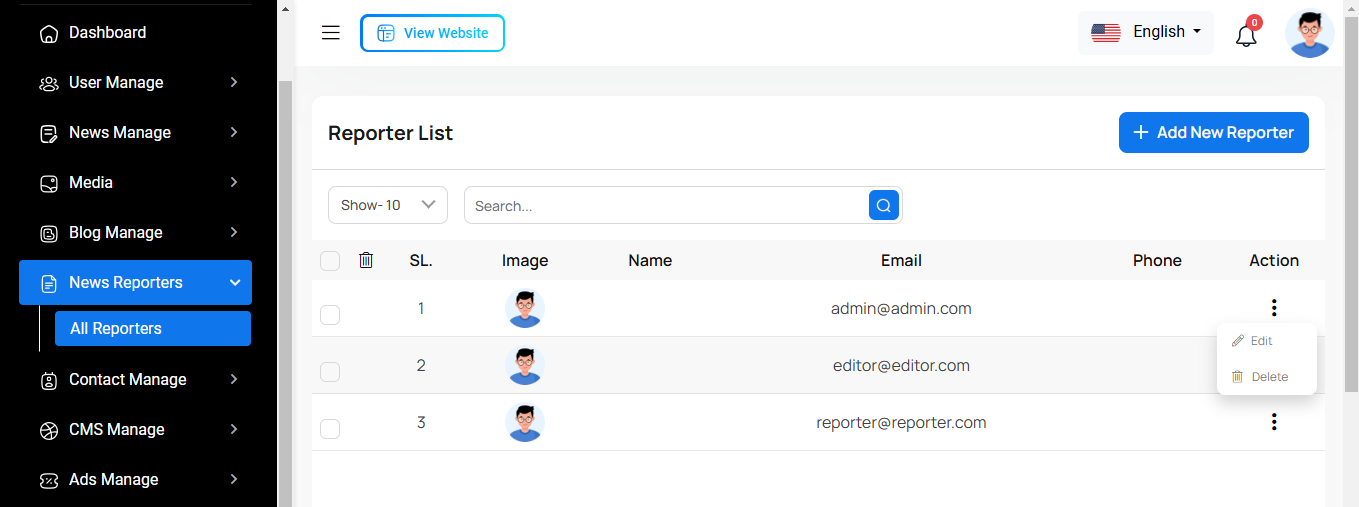
News Reporter List
Here, you can view the list of News Reporters along with a search filter. Additionally, you have the option to edit, delete, and perform multi-delete operations.
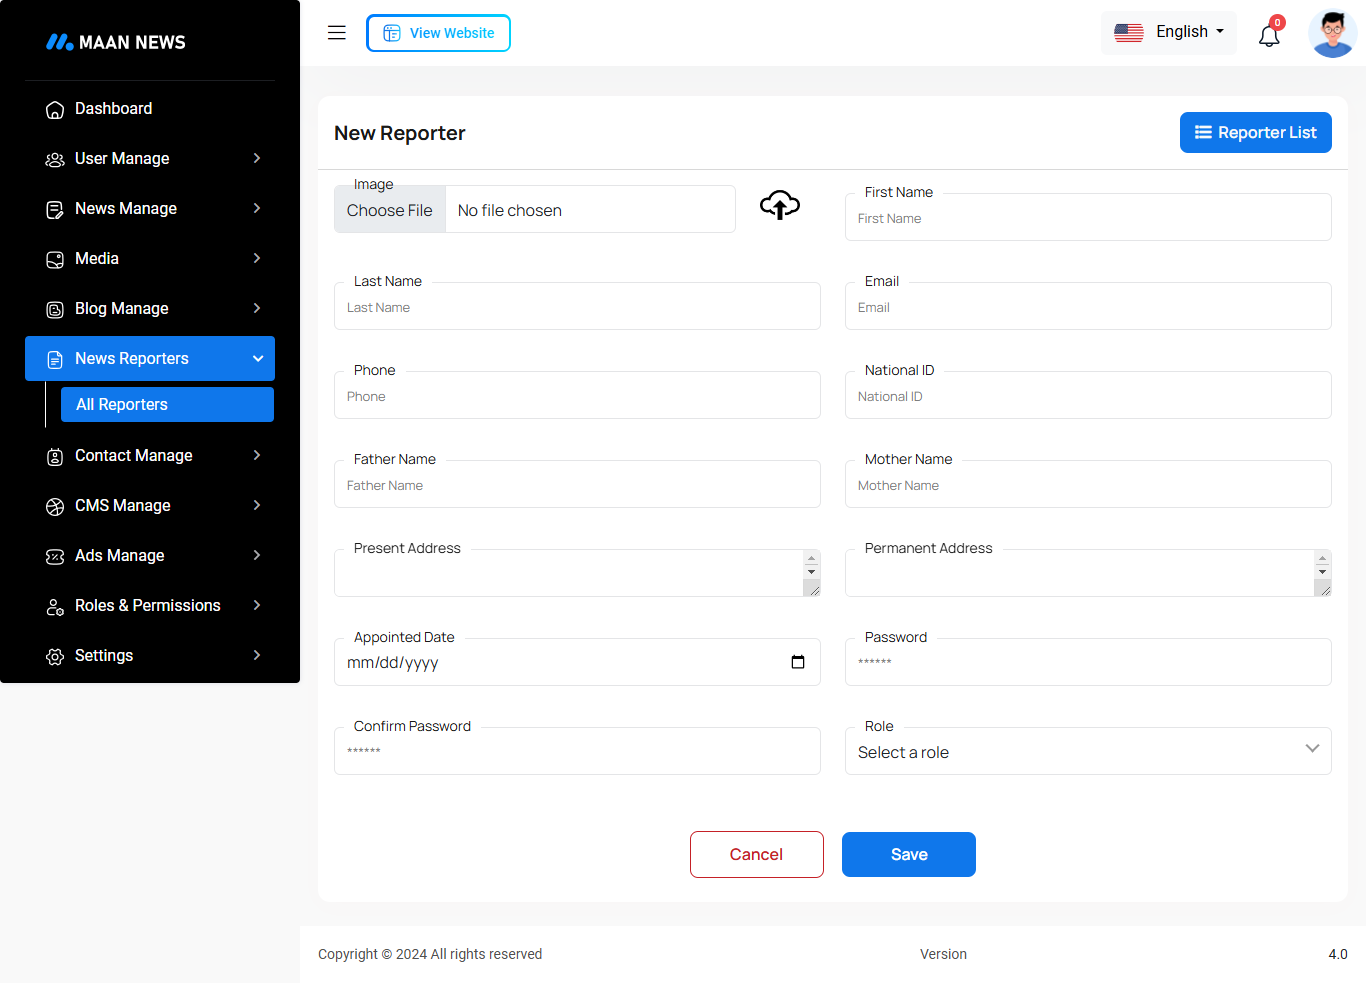
Create News Reporter
By clicking the "Add News Reporter" button, you can create a new news reporter. You'll need to fill in the required fields. Below is a screenshot of the create news reporter page. Please ensure you enter the email and password carefully.
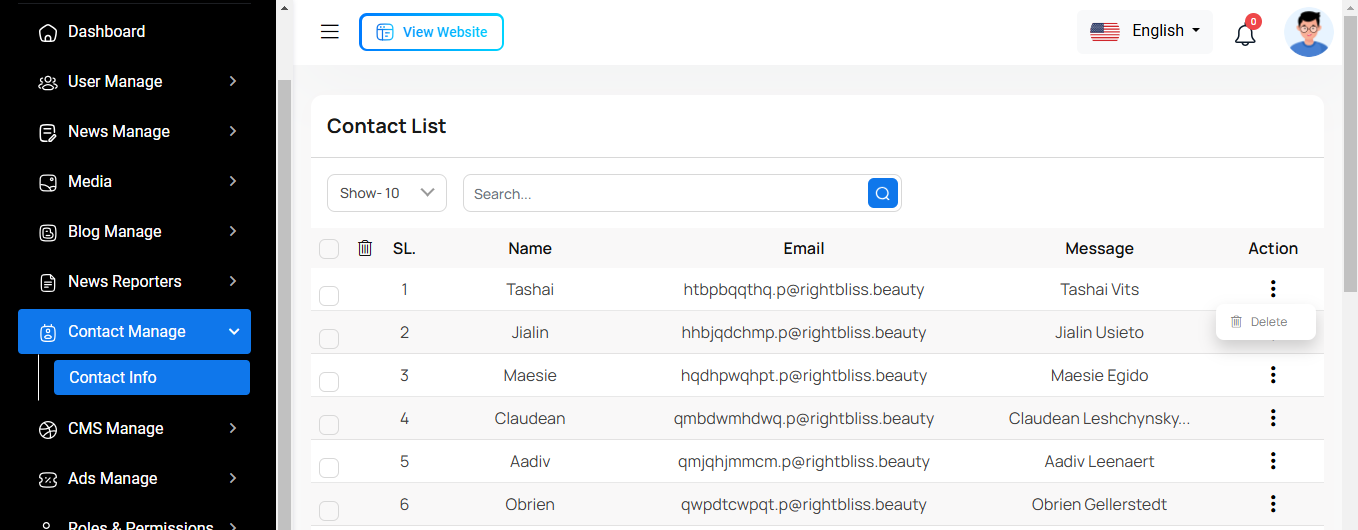
Contact Manage
Here, you can view the complete contact list with options to search, delete, and delete multiple entries at once
CMS Manage
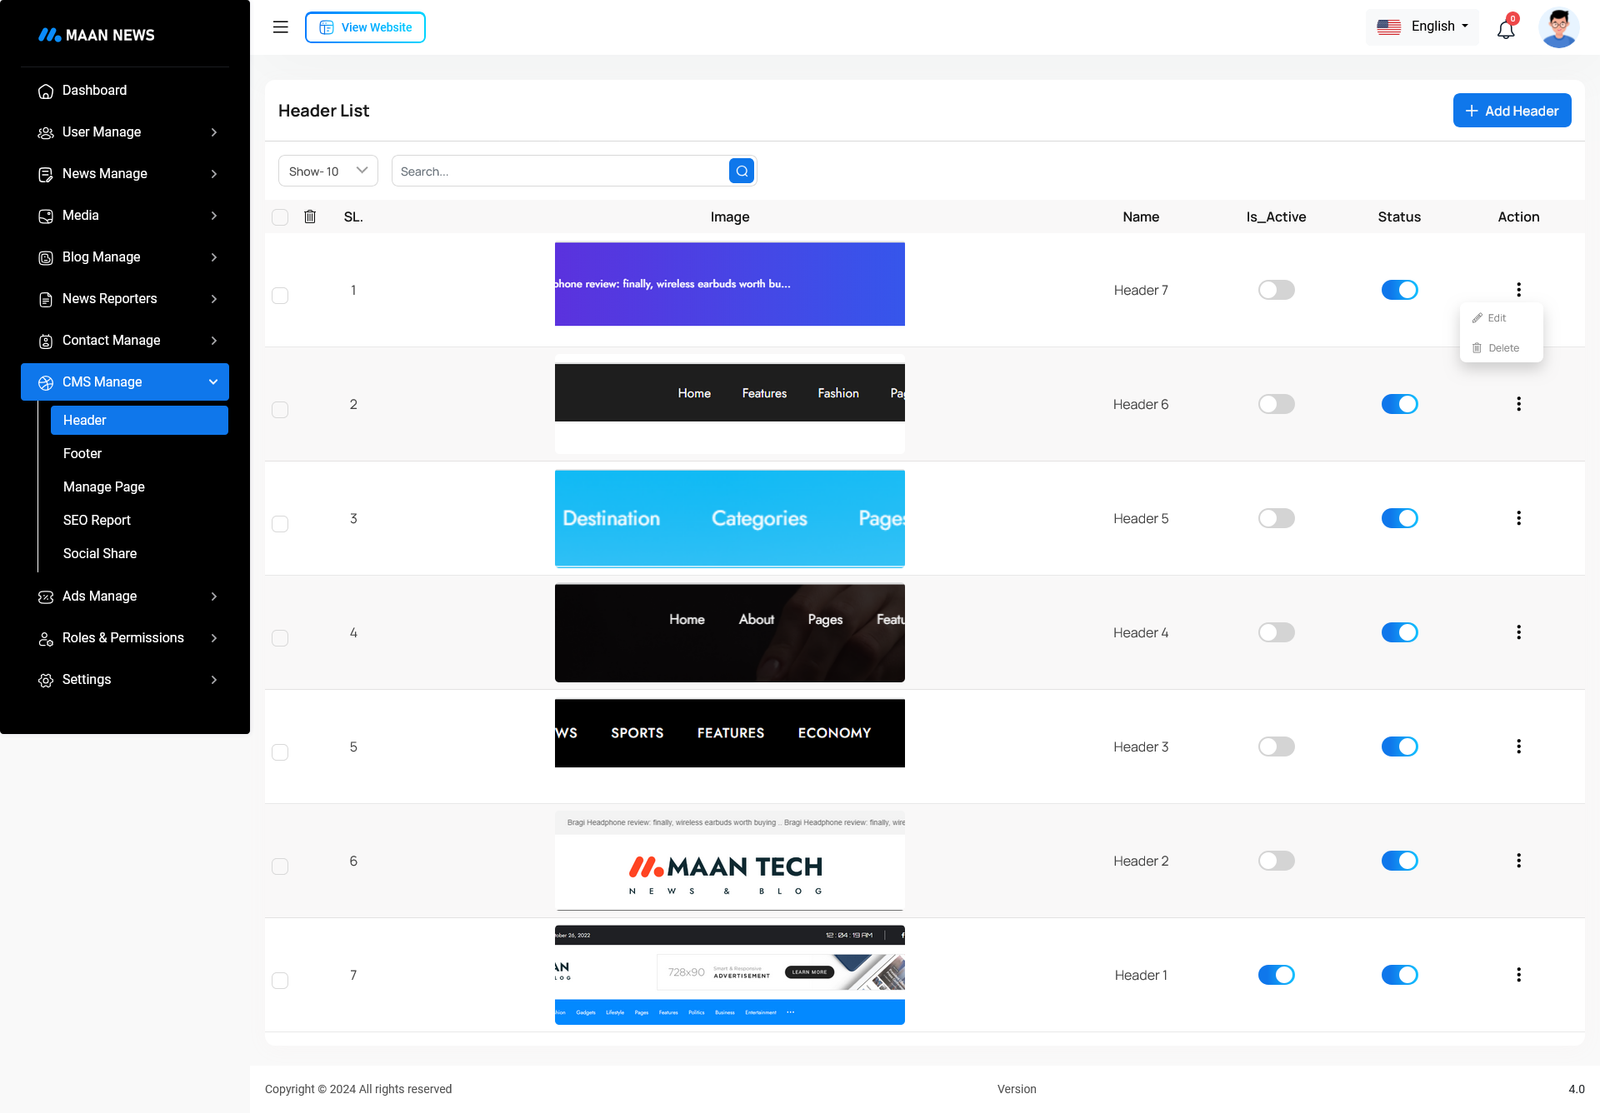
Header
This area is located at the top of every page in the web, giving easy access to various functions and options without navigating away from the current page.
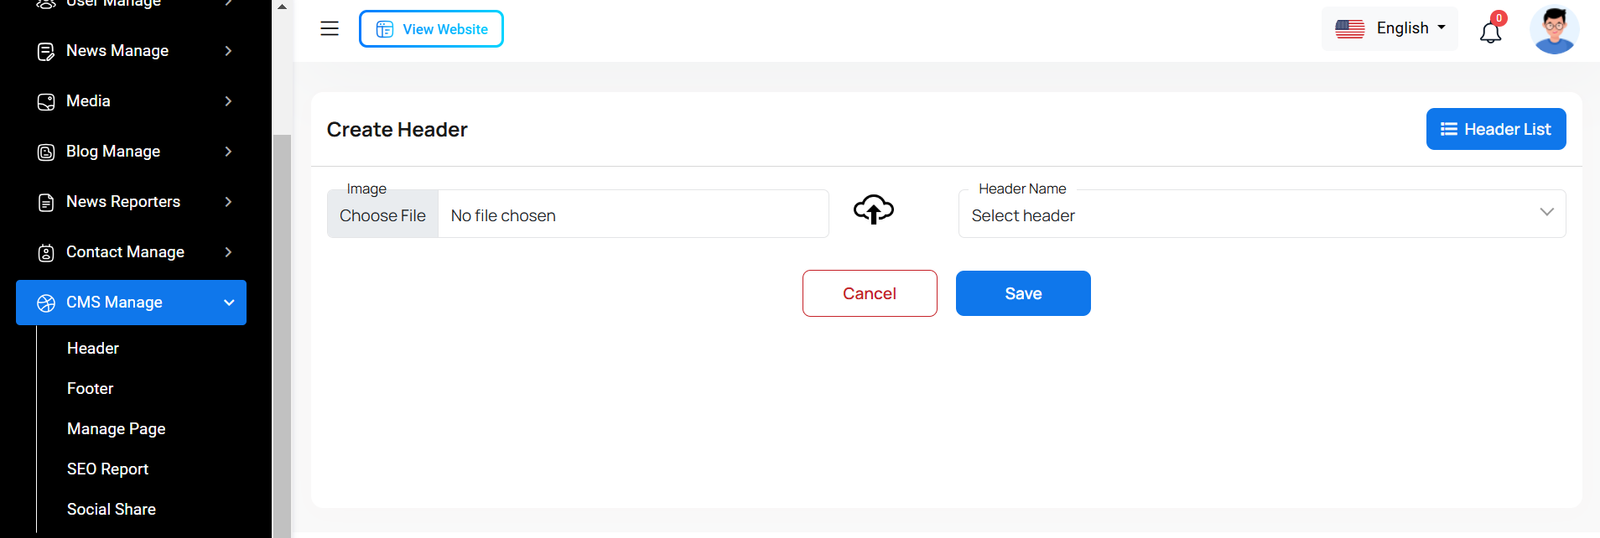
Create Header
Here you can create header for necessary field with image.
Footer
This area is located at the bottom of every page in the web, giving easy access to various functions and options without navigating away from the current page.
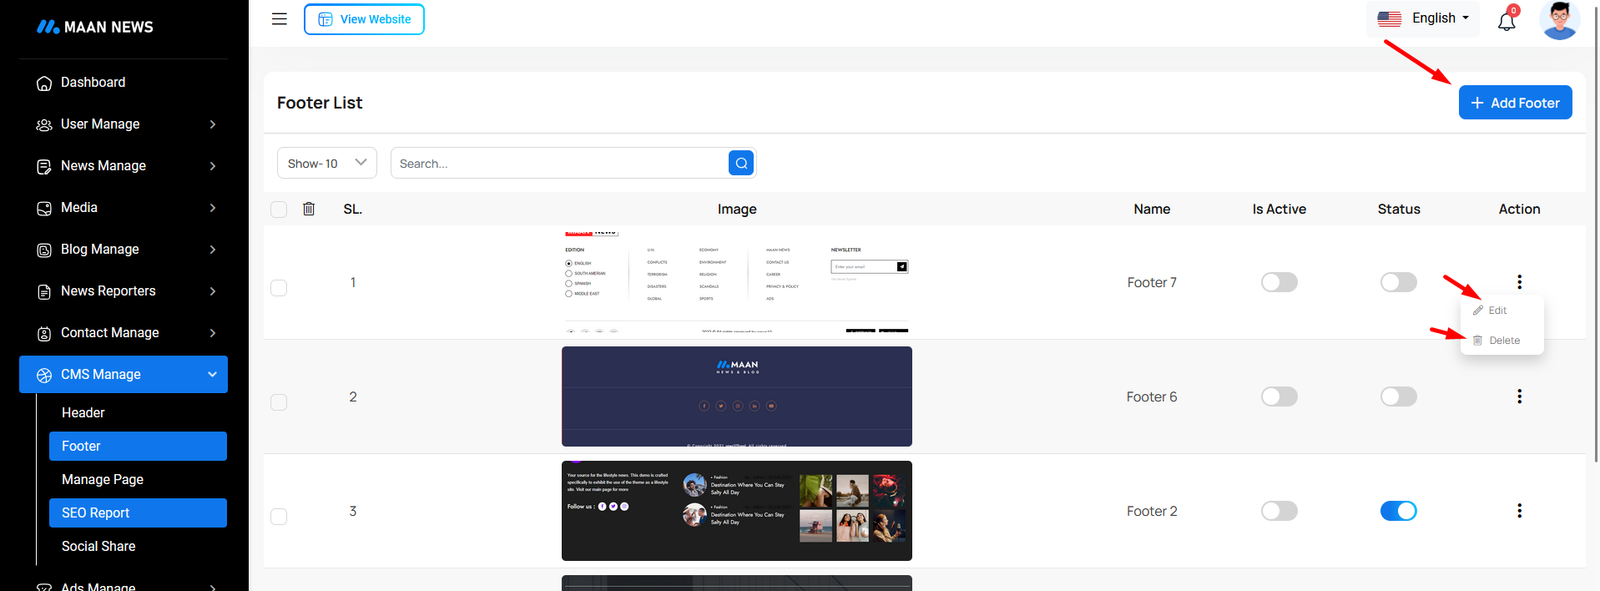
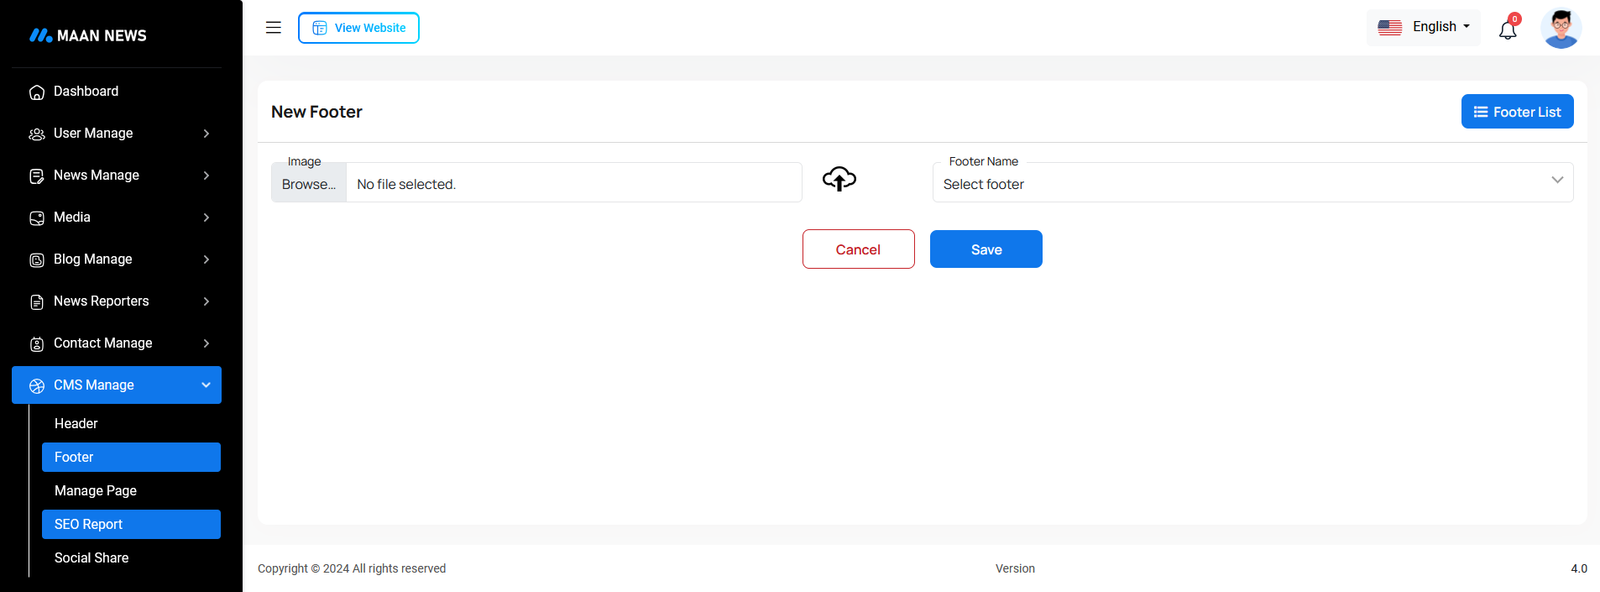
Create Footer
Here you can create footer for necessary field with image.
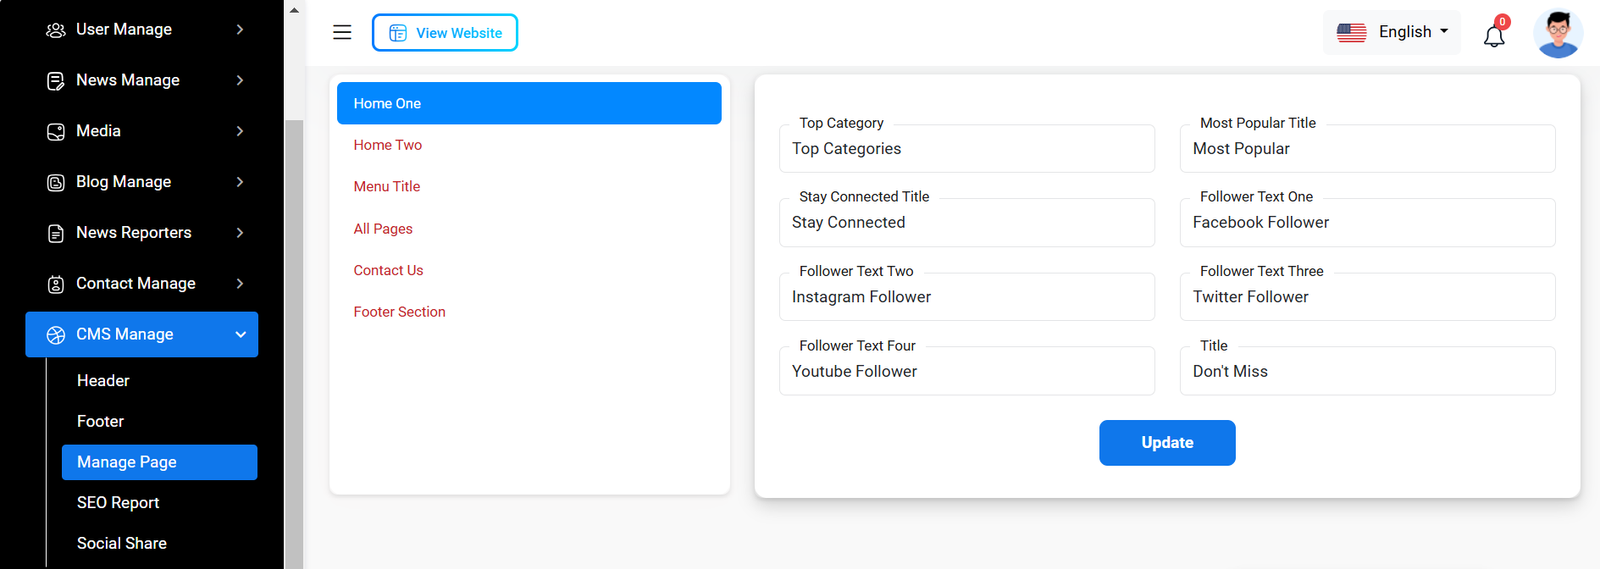
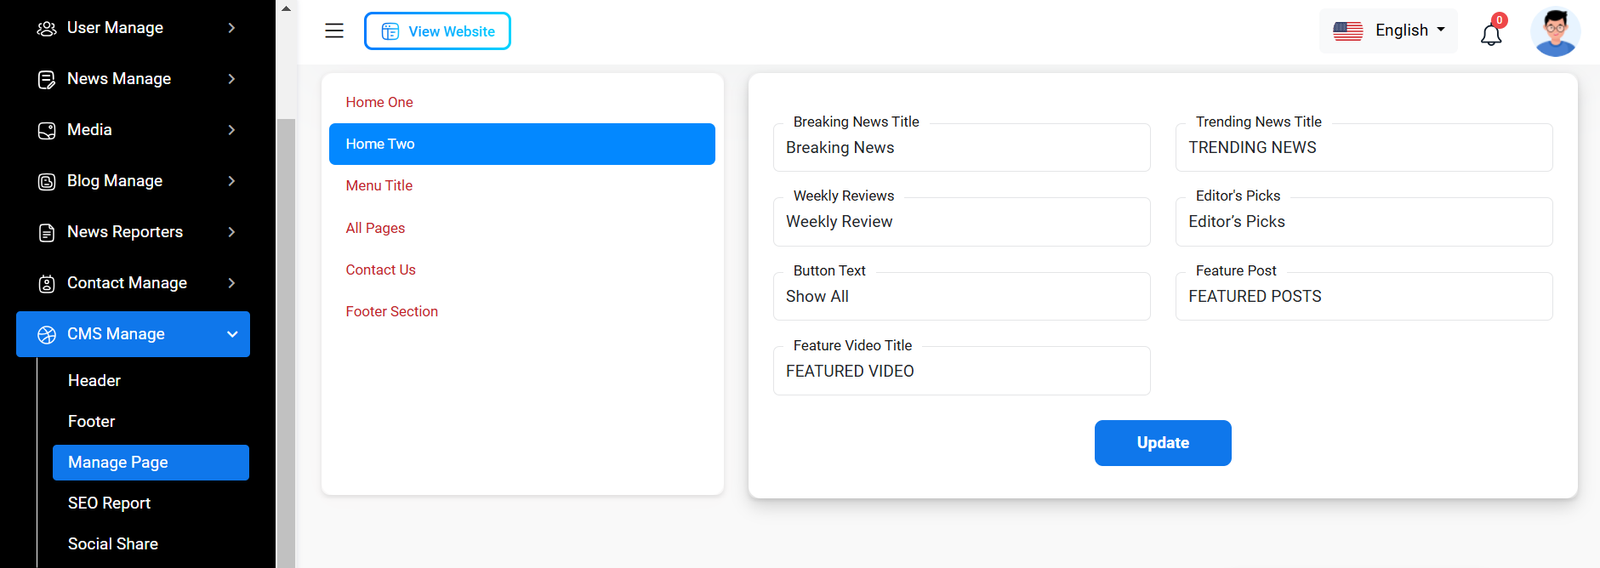
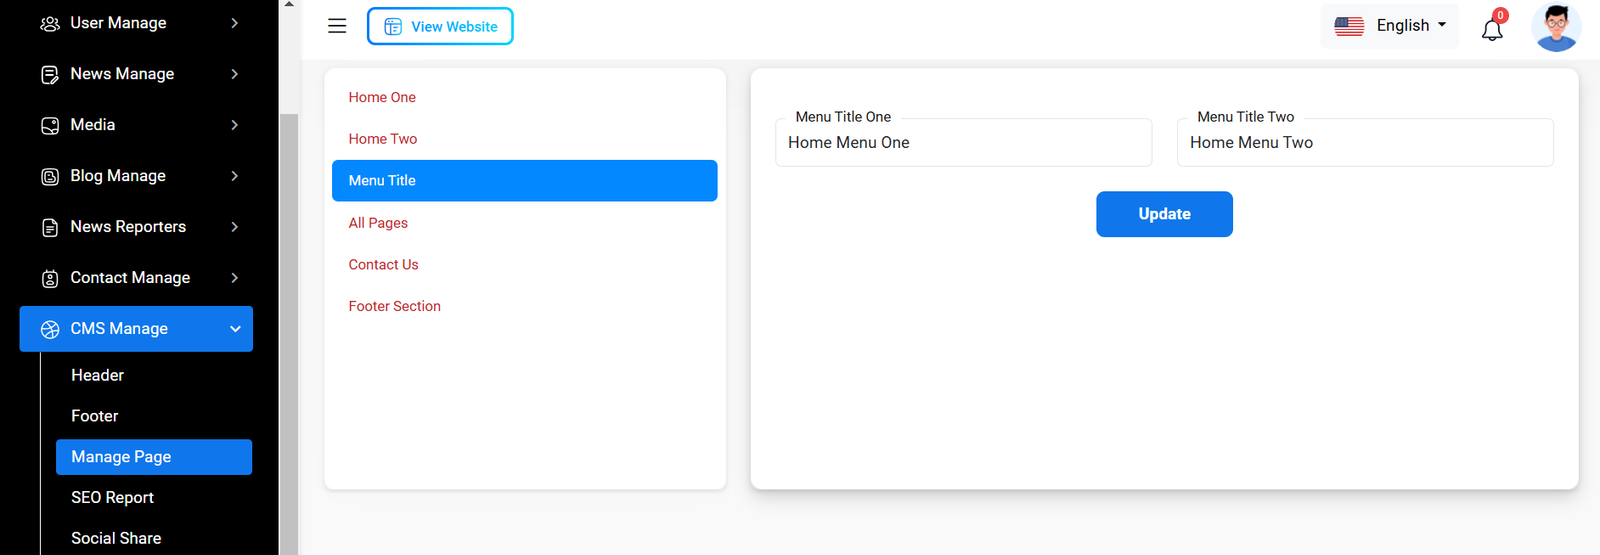
Manage Pages
You can modify various sections of the pages, including the Home One,Home Two, Menu Title, All pages, Contact us, Footer Section.
Home One
Home Two
Menu Title
Contuct Us

Footer Section

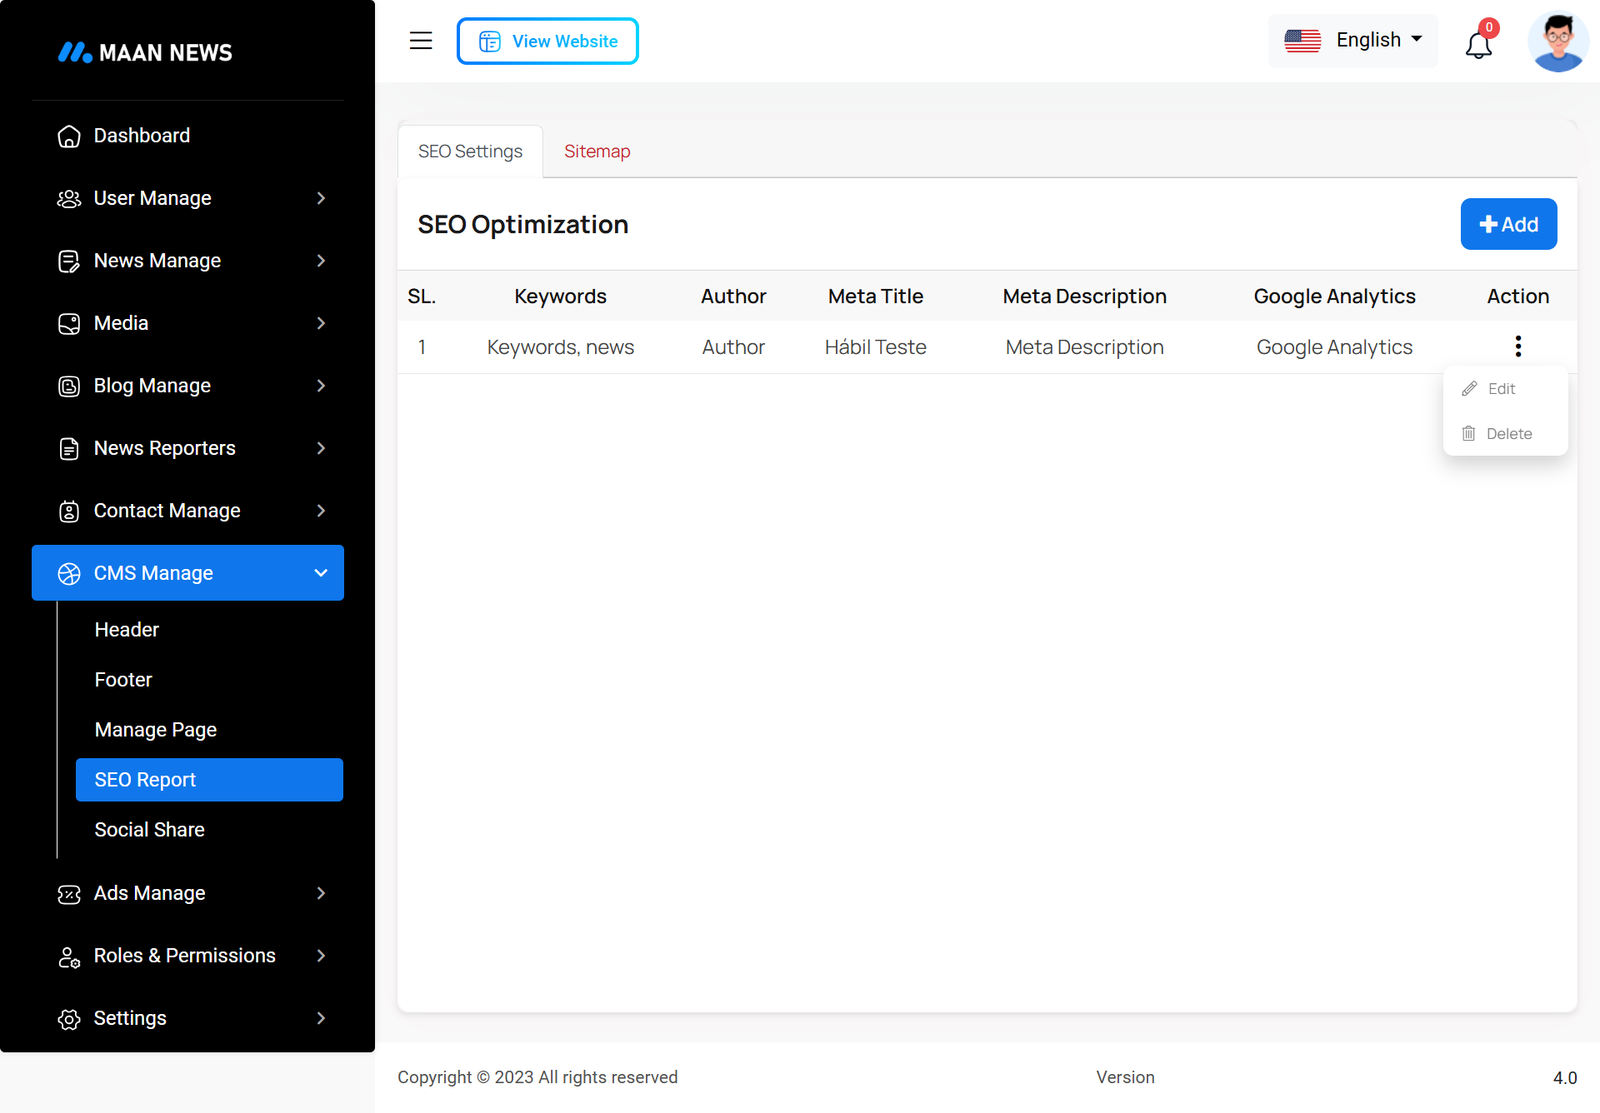
SEO Report
Here you can see information with edit and delete option
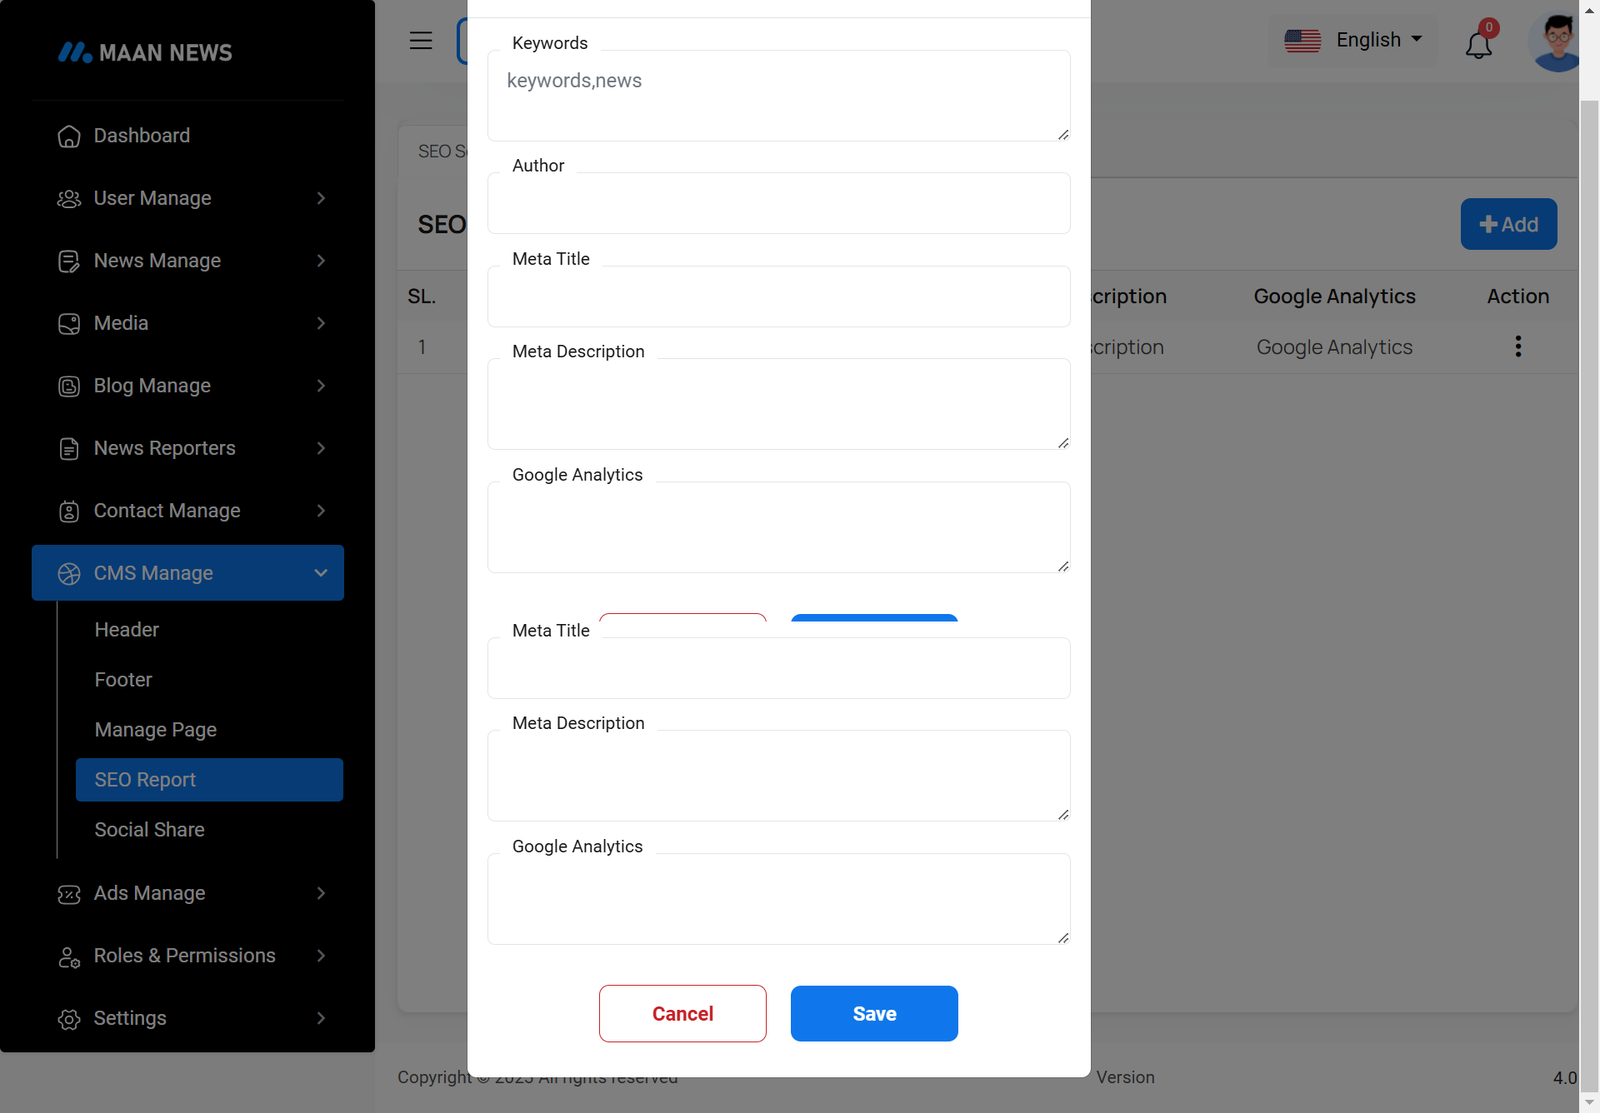
Create SEO Report
Here you can create SEO Report to fulfill necessary field.
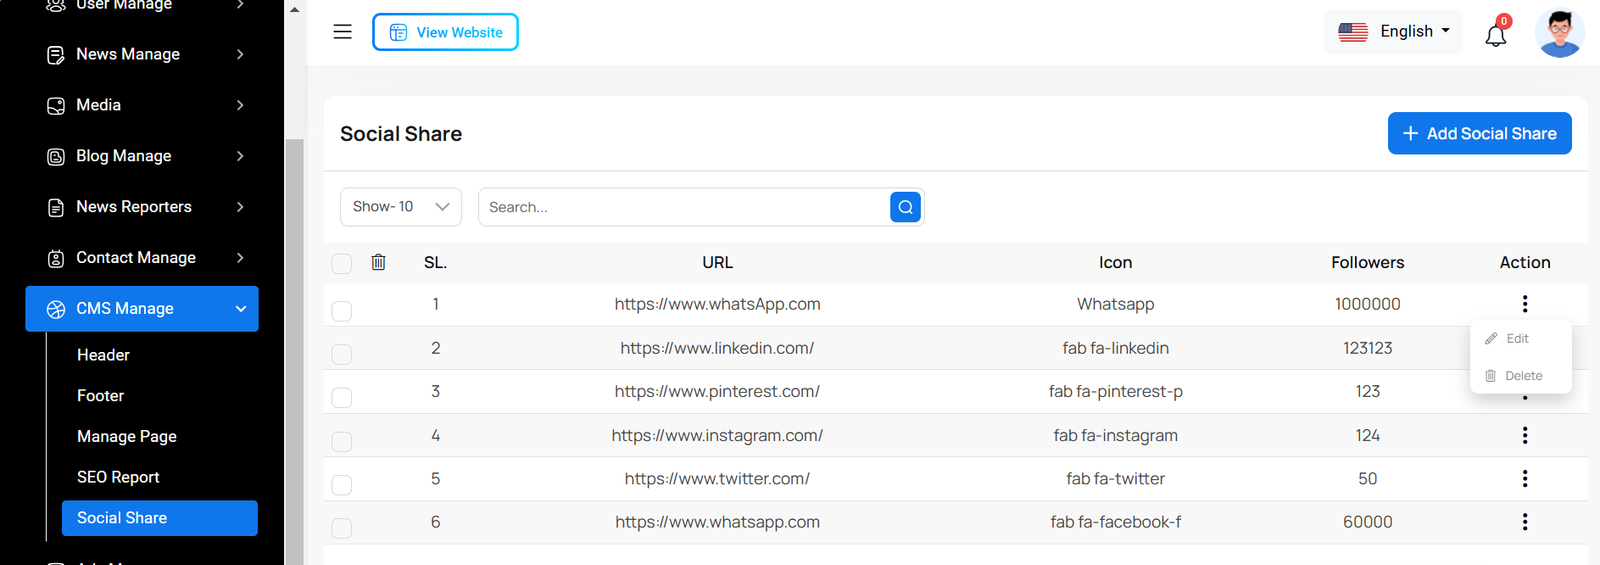
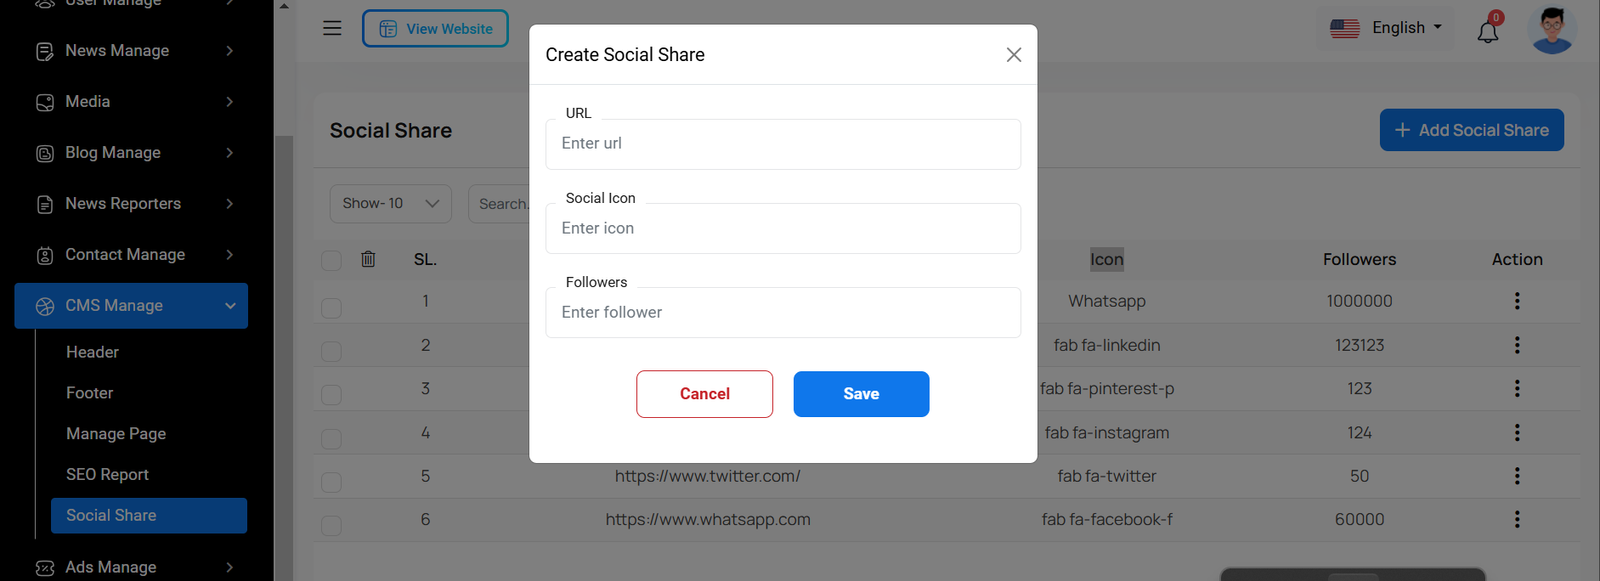
Social Share
This area is located at the top of every page in the web, giving easy access to various functions and options without navigating away from the current page.
Create Social Share
Here you can create header for necessary field with image.
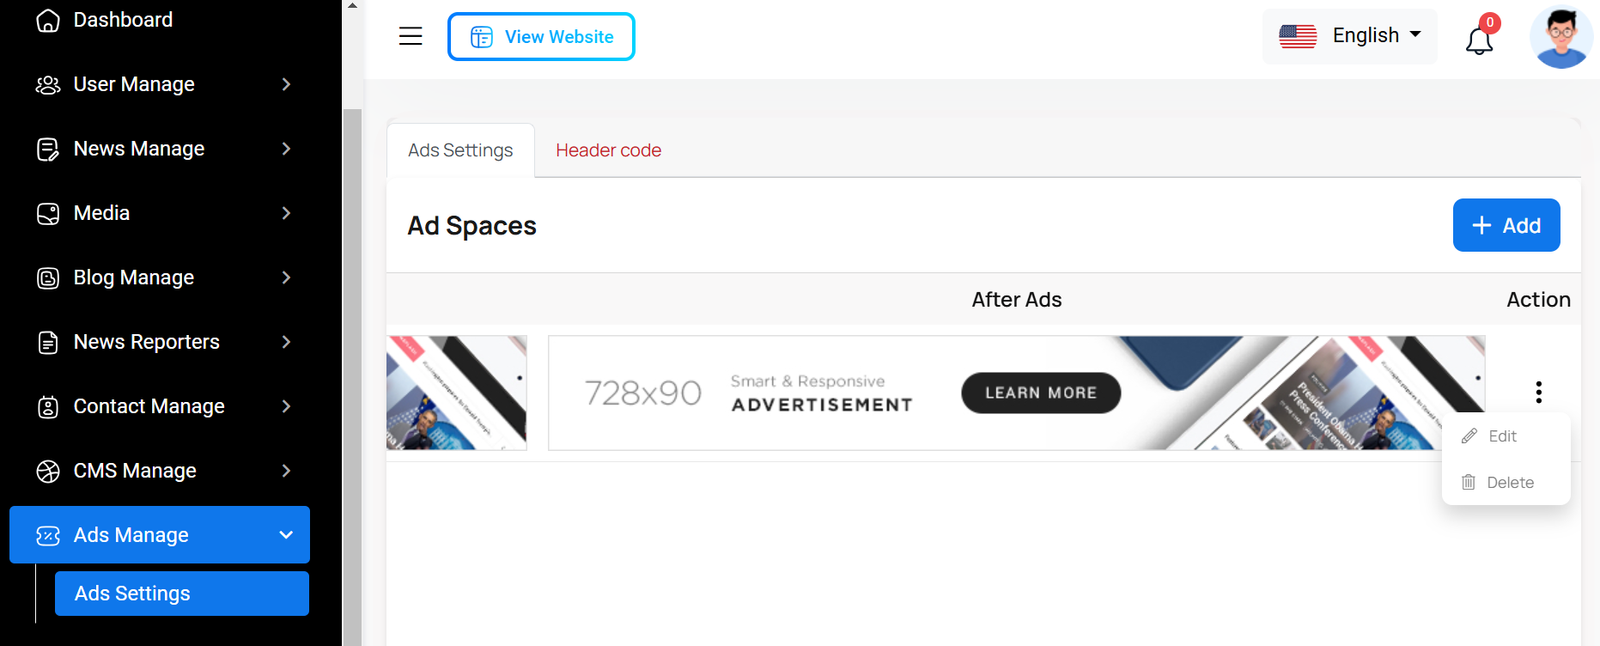
Adds Settings
Here, you can view various ads, with options to edit and delete them.
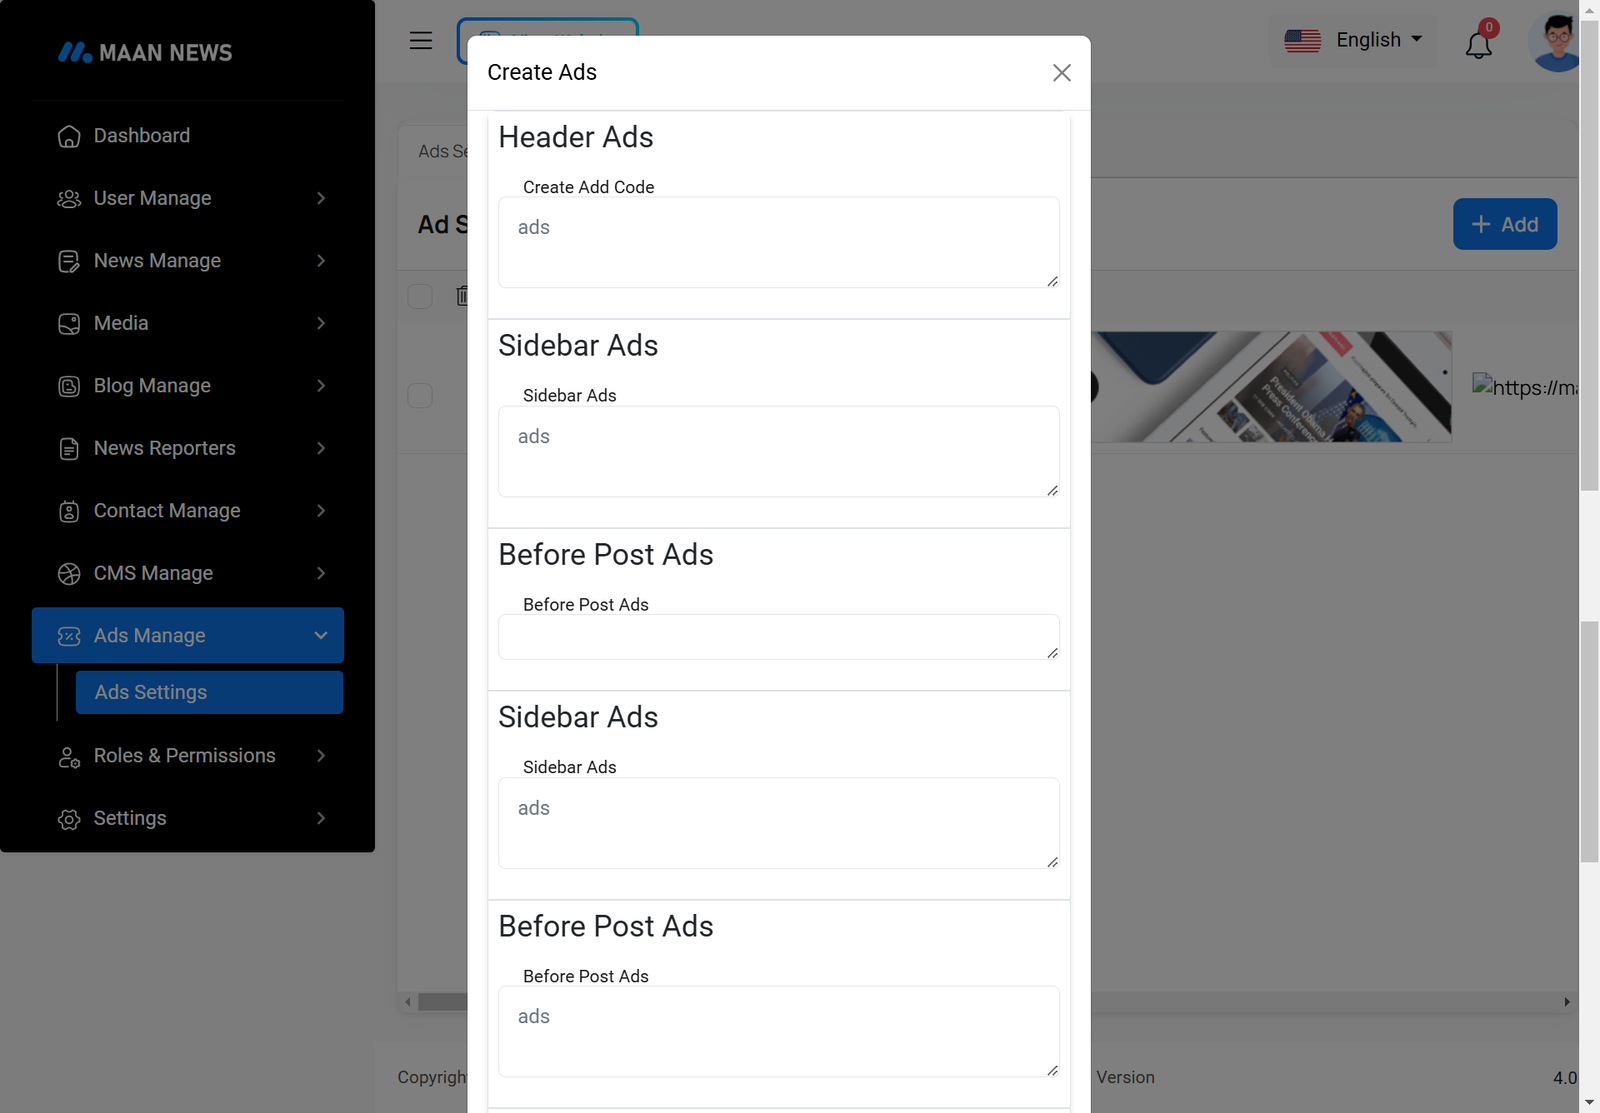
Create Ads
By clicking the "Add" button, you can create a new ad by filling out the required fields.
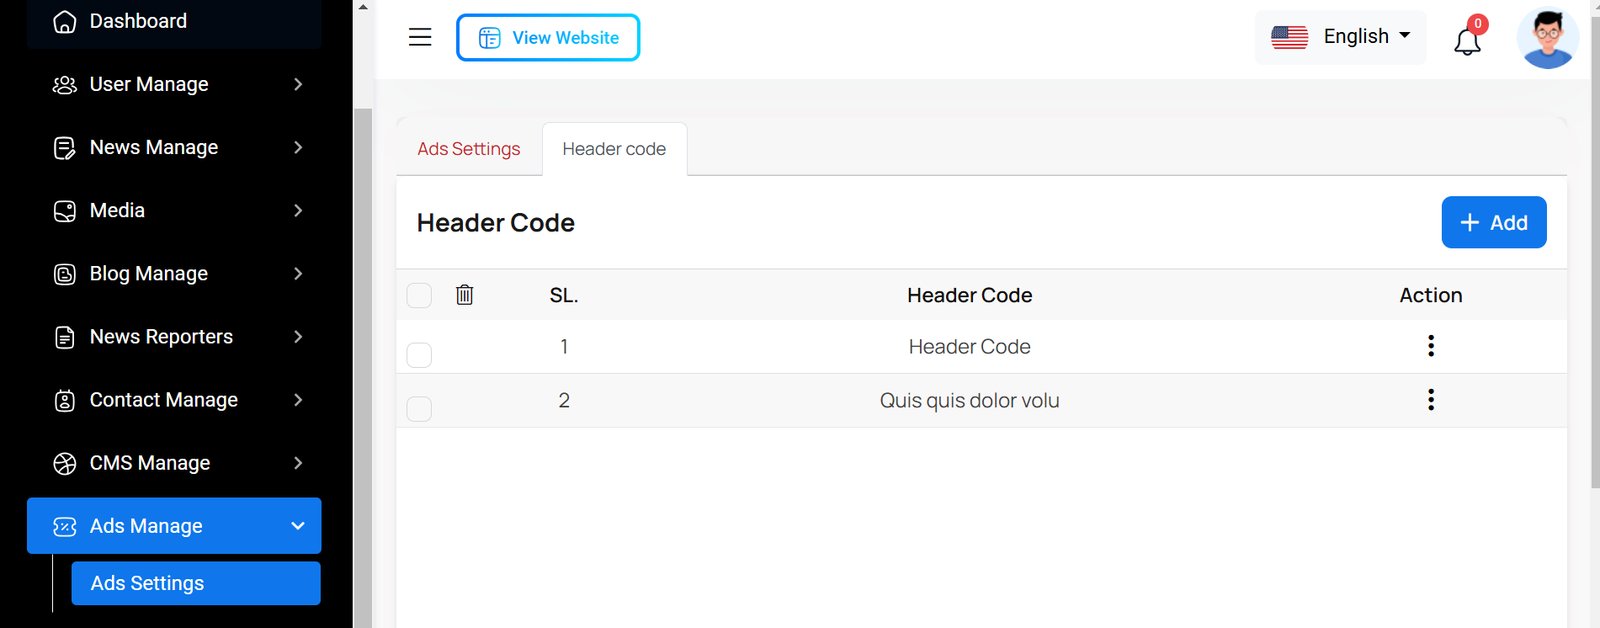
Header Code
Here, you can view the header code with options to edit and delete it. You can also create new header code by simply entering the code.
Roles & Permissions
In this section, you have the ability to define roles and allocate specific permissions to different users as needed.
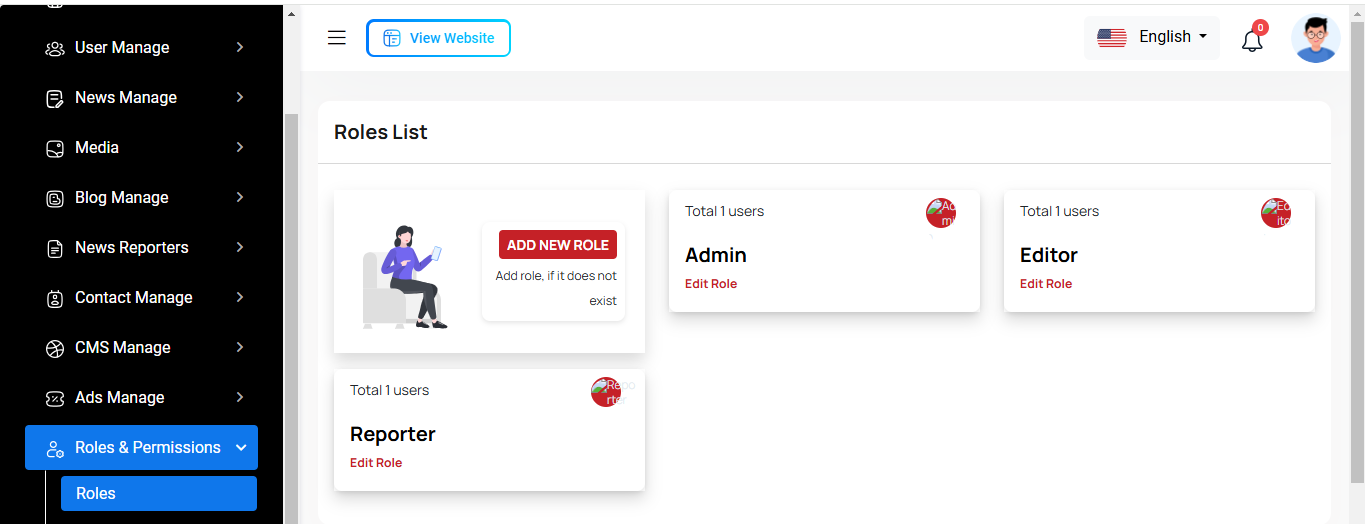
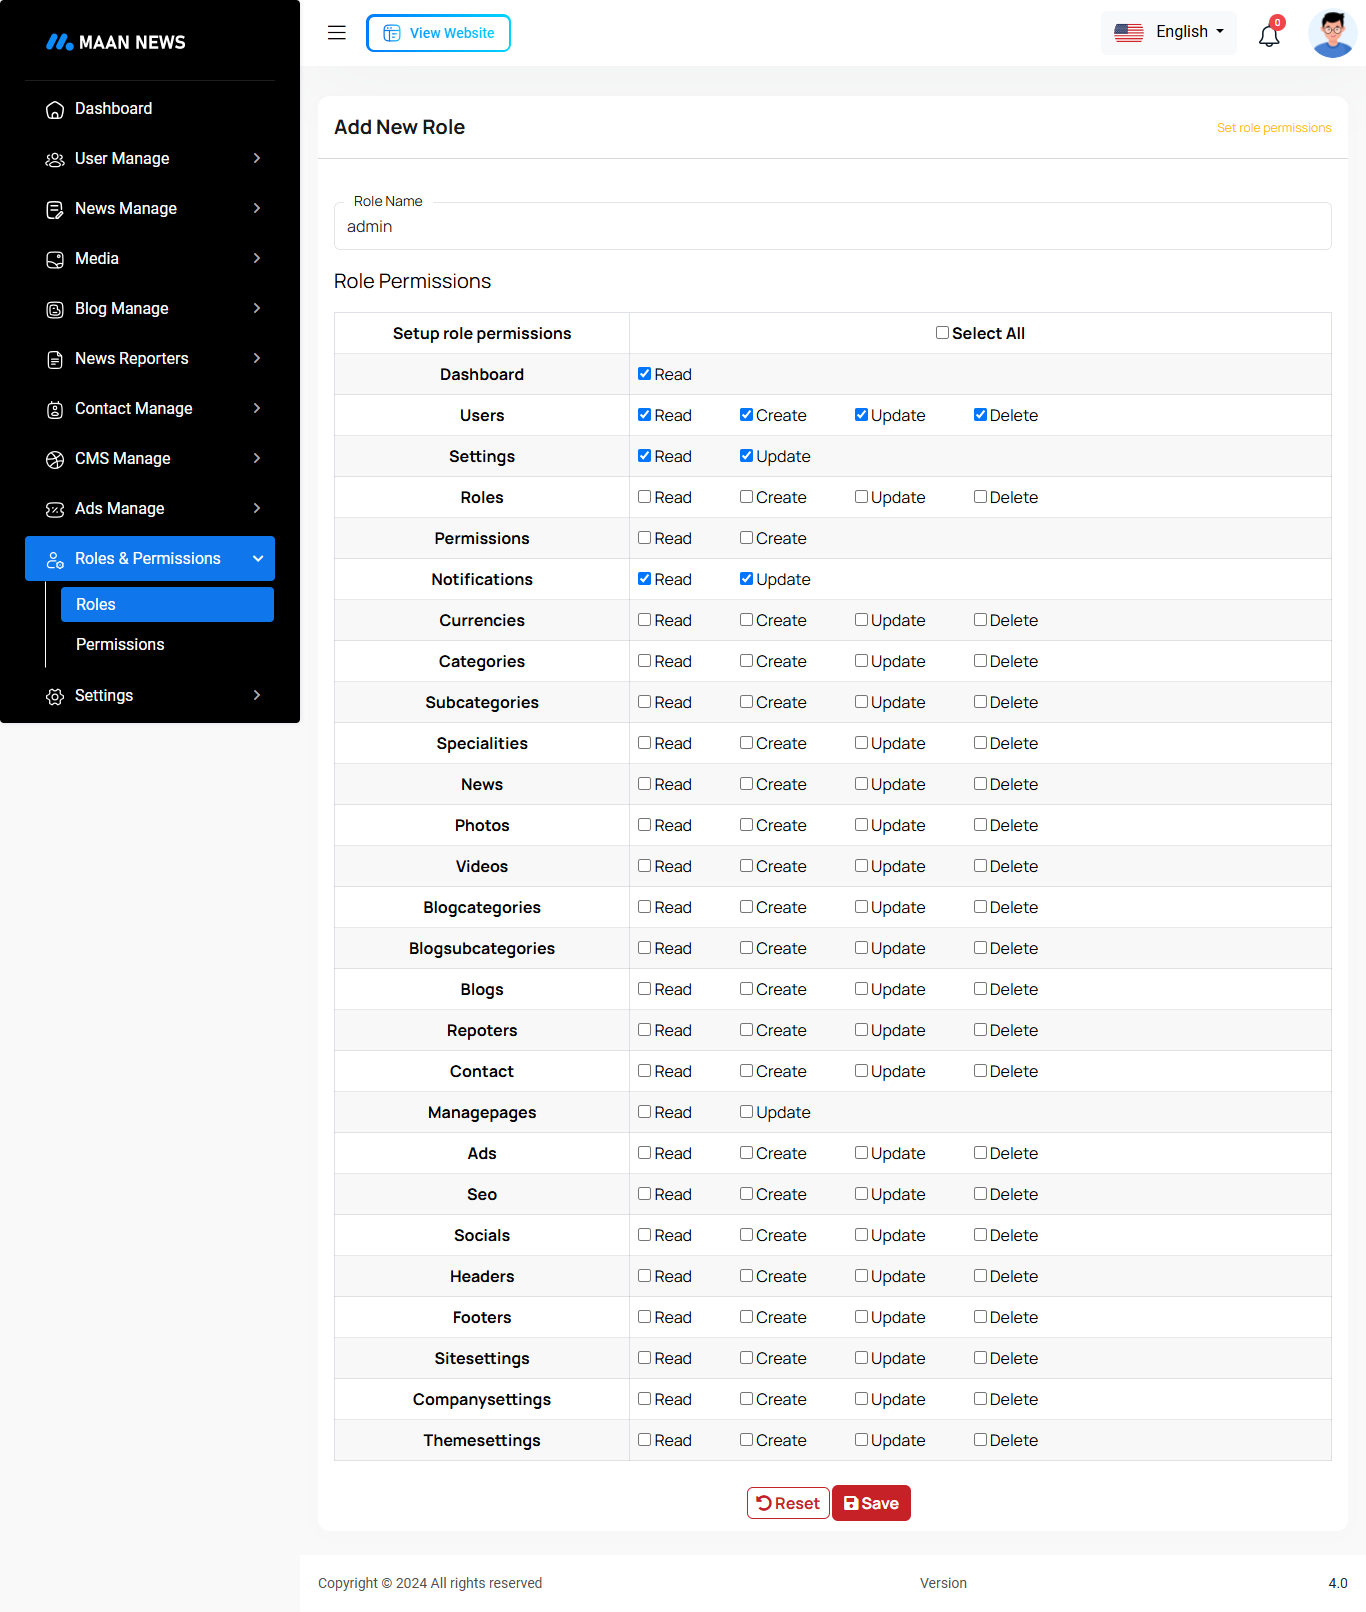
Roles
In this section, you have the capability to create new roles and update existing ones. When updating roles, you can configure their specific role permissions, granting or restricting access to various features and functionalities as required. This allows you to tailor user roles to your organizational needs and security requirements.
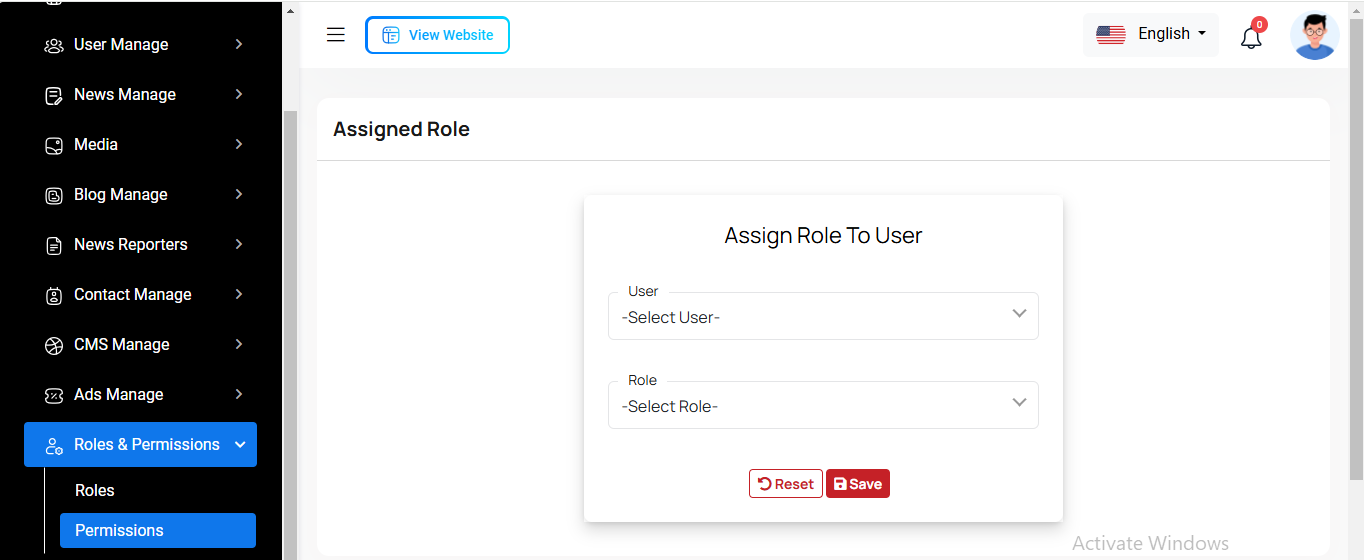
Permissions
In this section, you have the capability to set role-specific permissions, allowing you to fine-tune and control access rights for each role according to your organization's needs and security requirements.
Setting
In the Setting section, you have the capability to configure the fundamental aspects or core elements of this project.
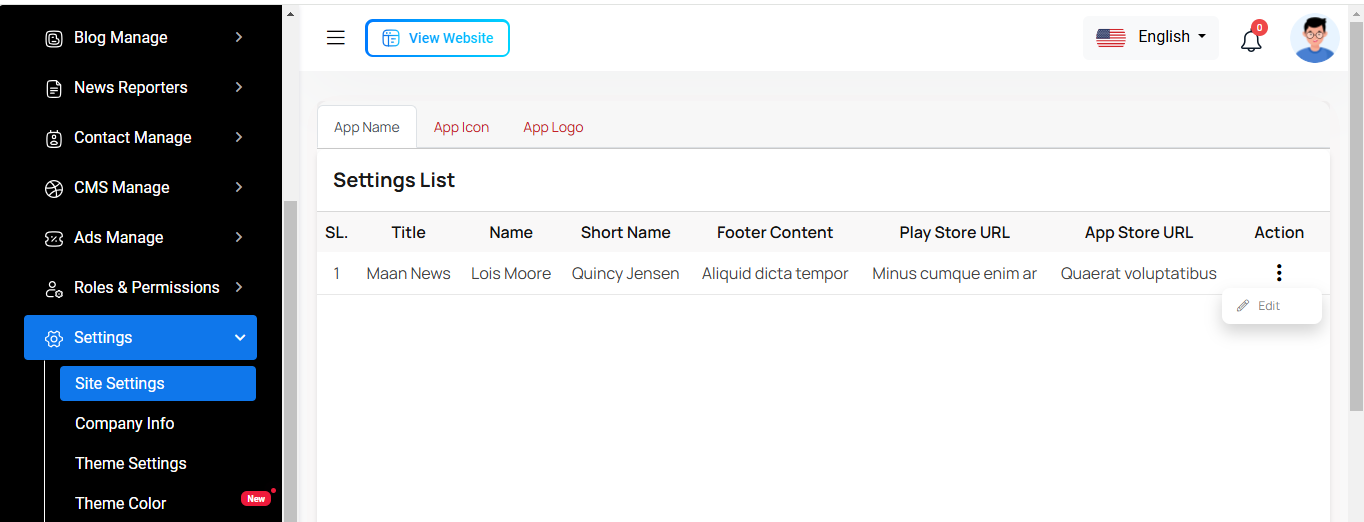
Site Settings
Here, you can update the app information, including its icon and logo.
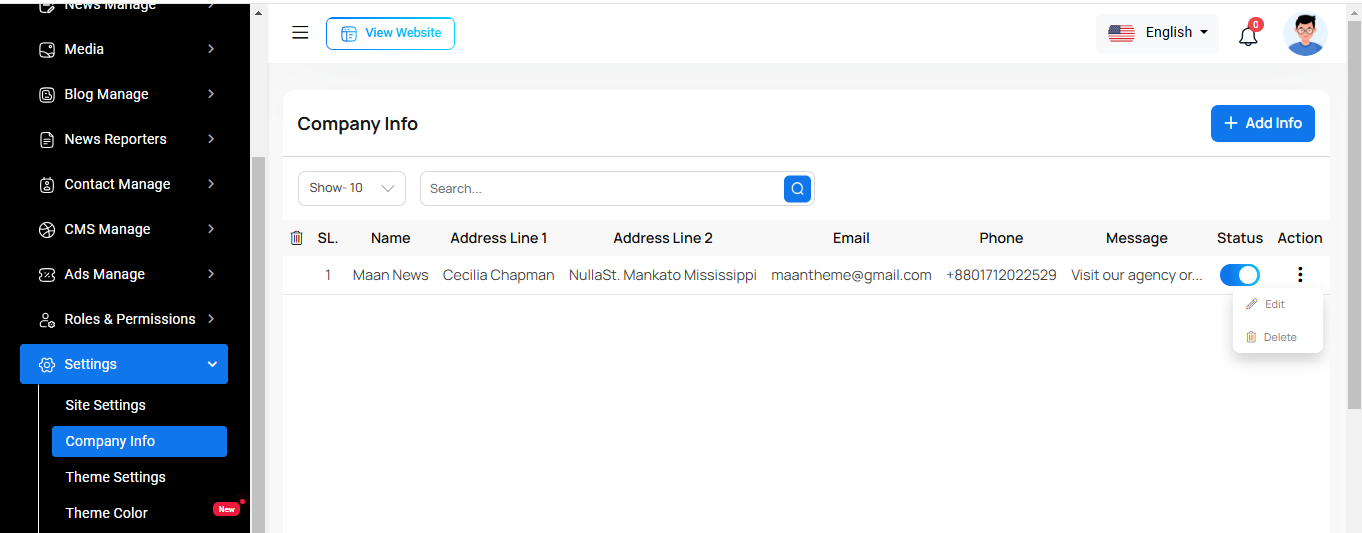
Company Info
Here, you can view company information with options to search, edit, and delete. You can also enable or disable the company by changing its status.
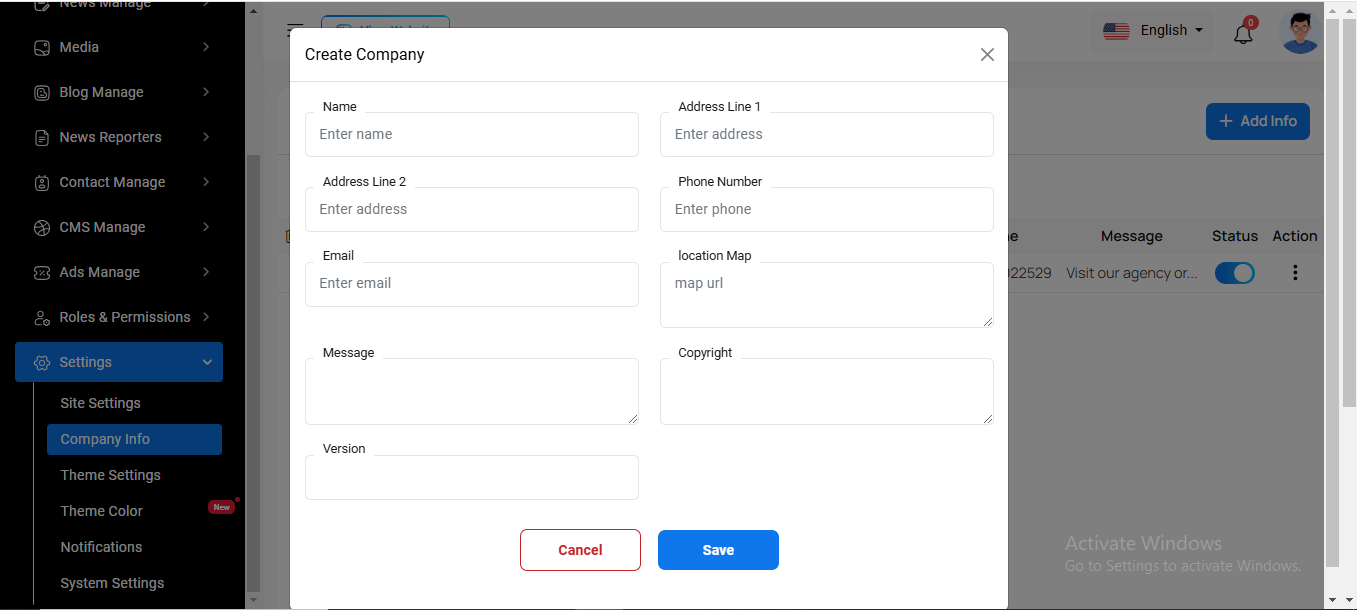
Create Company Info
Here, you can create a company info to fill in the necessary information.
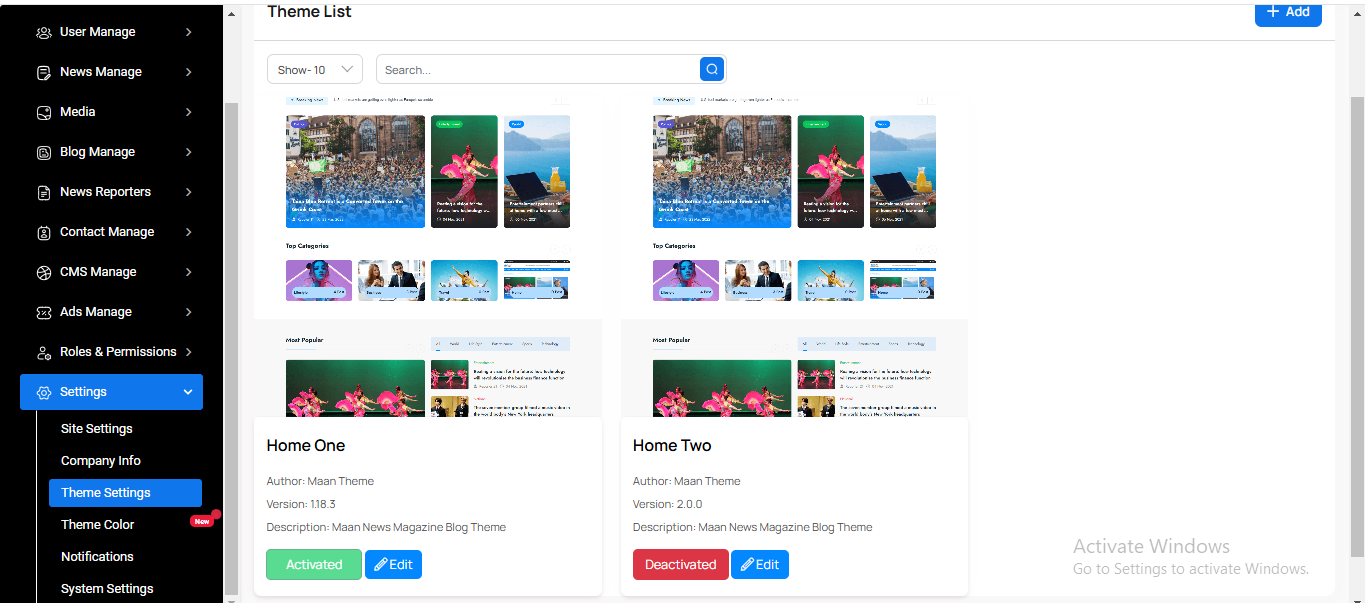
Theme List
Here, you can view the theme list, update themes, and activate or deactivate them as needed.
Create Theme
You can create a new theme by filling in the necessary information.

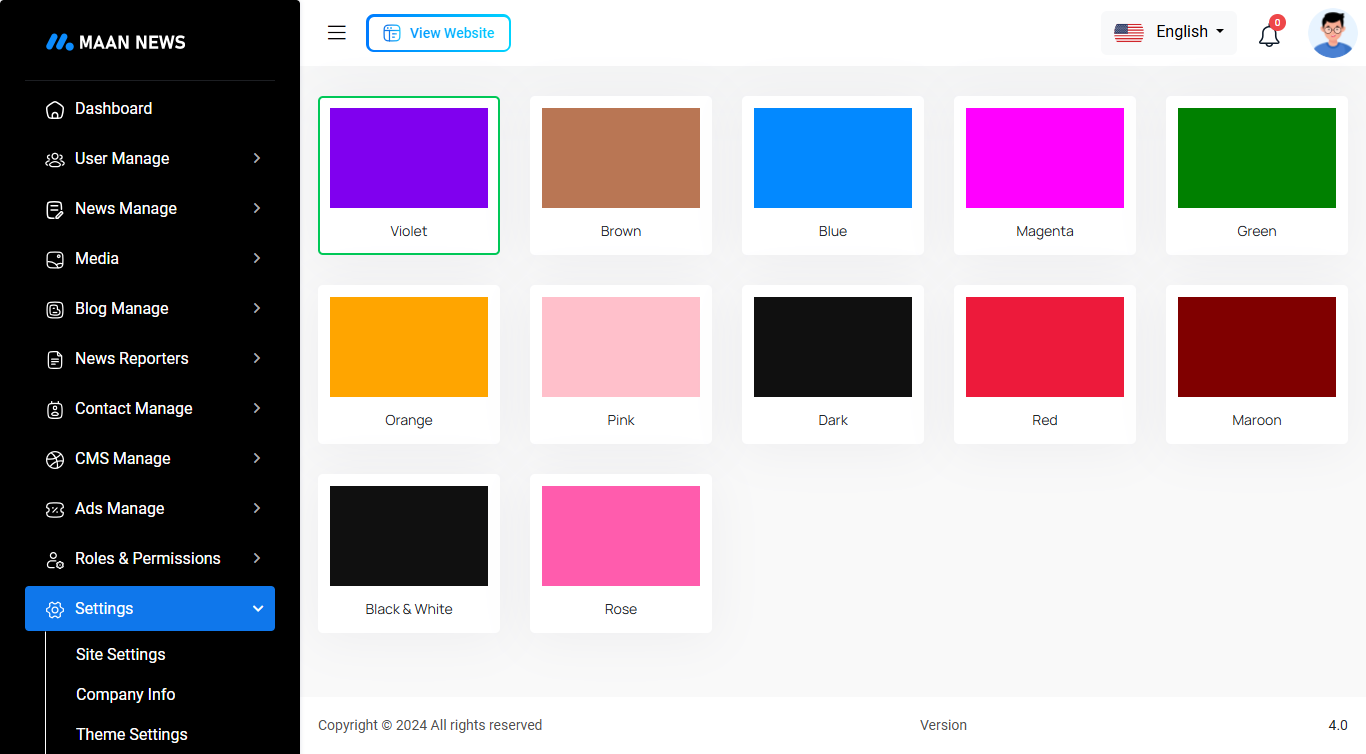
Theme Color
Here, you can view the list of theme colors, update them, and select your preferred color as needed.
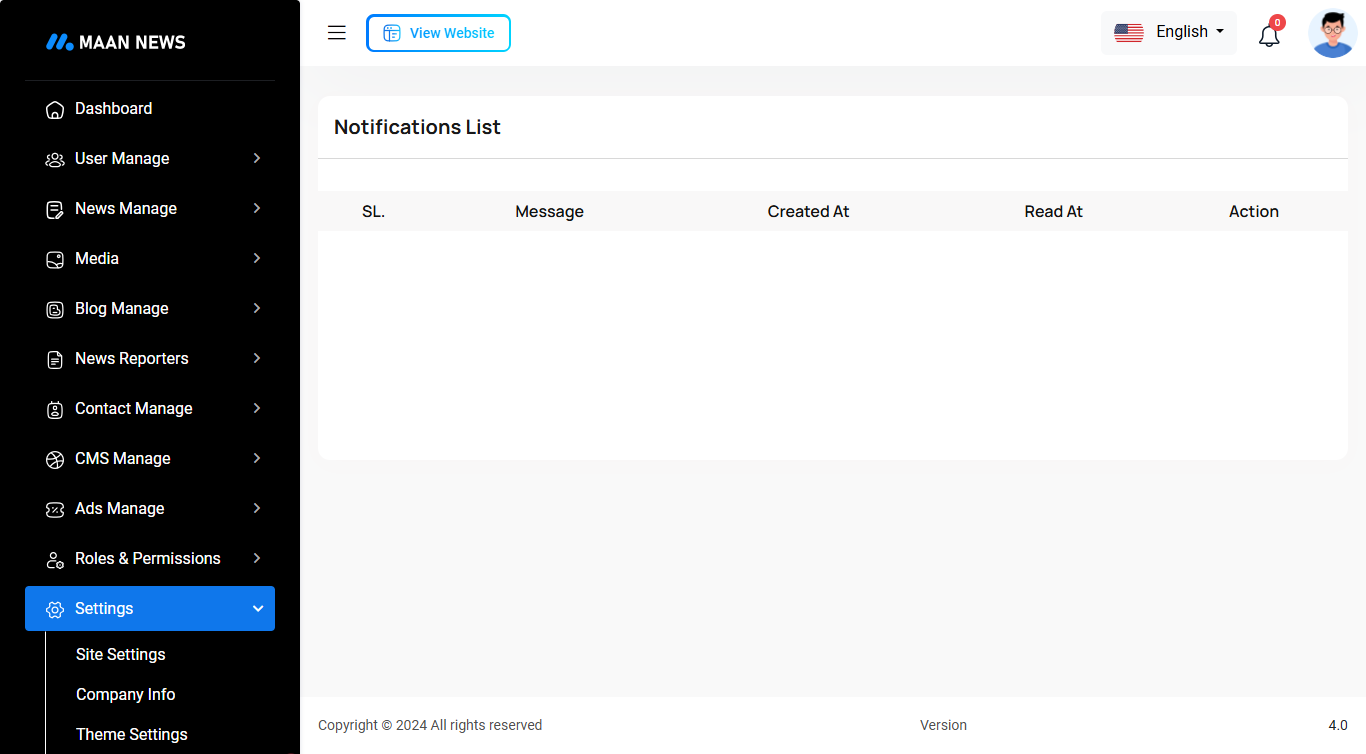
Notification
Here, you can view a list of various notifications. You also have the option to filter these notifications based on available criteria.In each list, clicking the "View" button allows you to see detailed information.
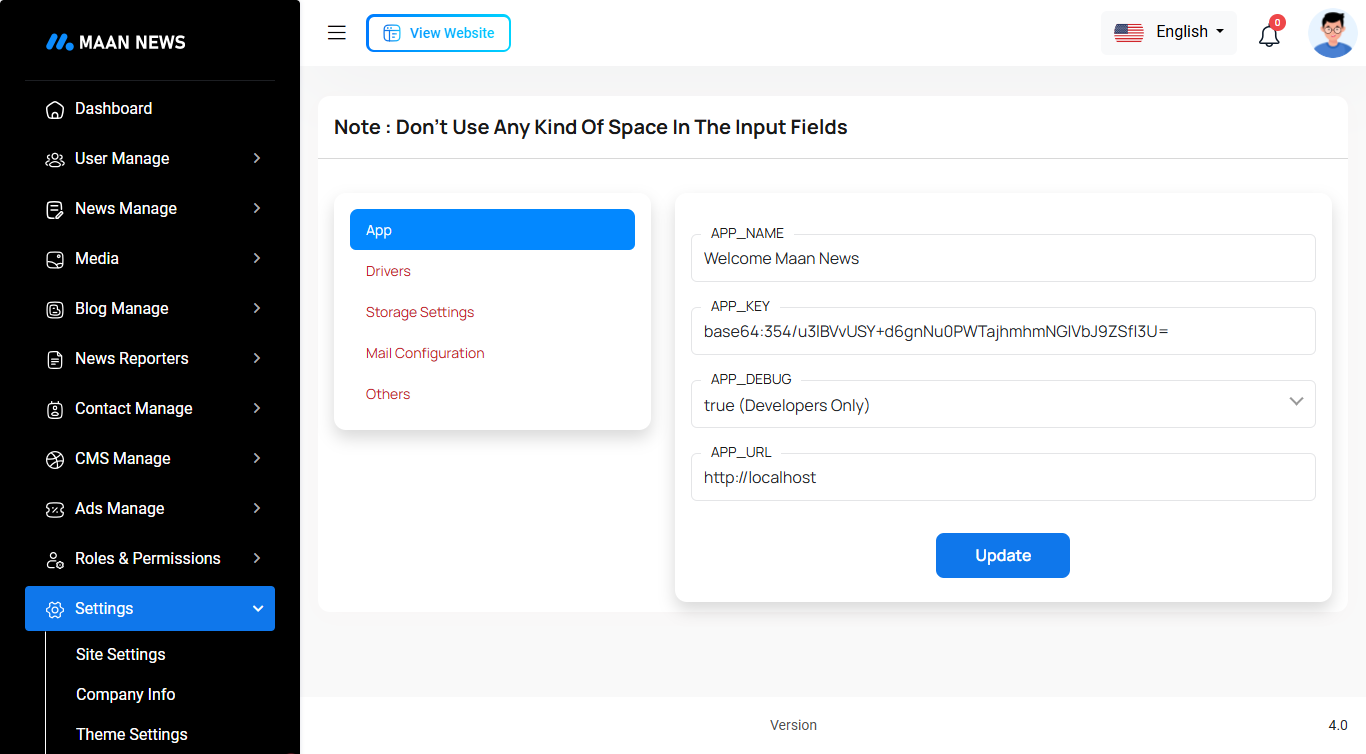
System Settings
In this section, you can configure various backend settings for the project, including application setup, driver configurations, mail settings, storage configurations, and other essential components. It's crucial to handle these configurations with care as they impact the functionality and security of the system.
App
Drivers
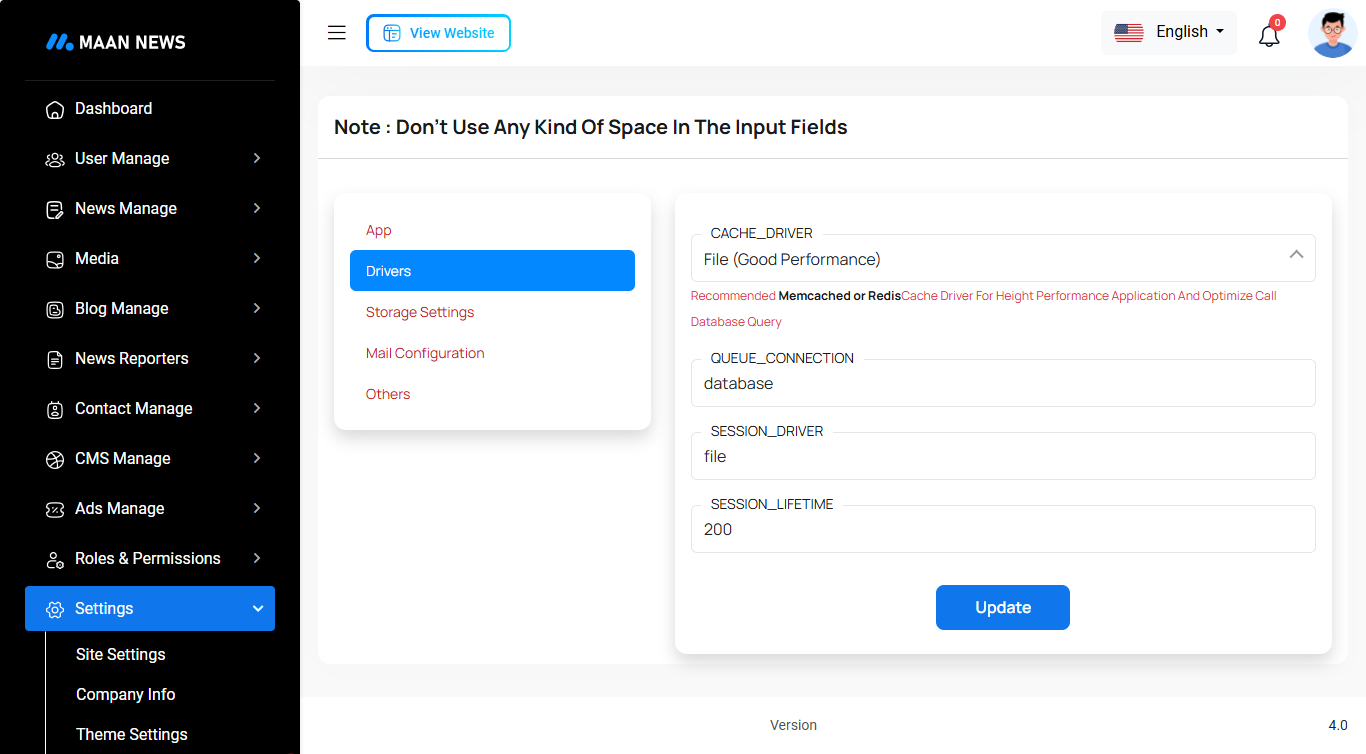
Drivers
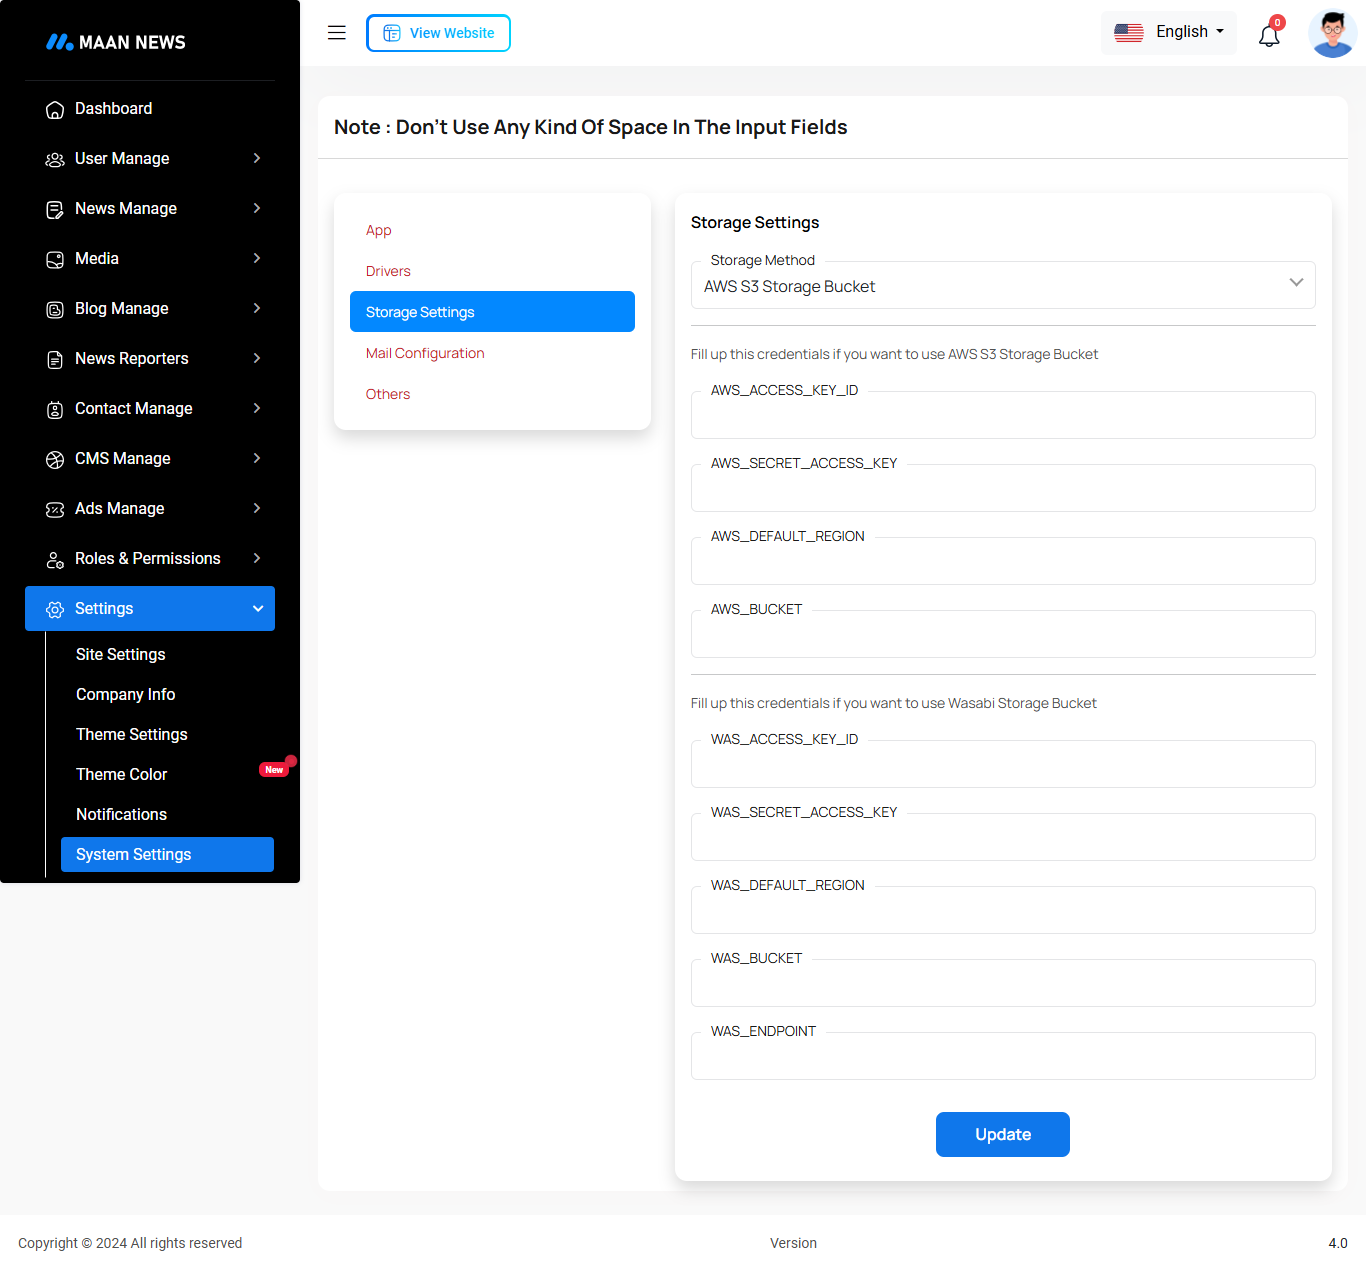
Storage Settings
Mail Configuration
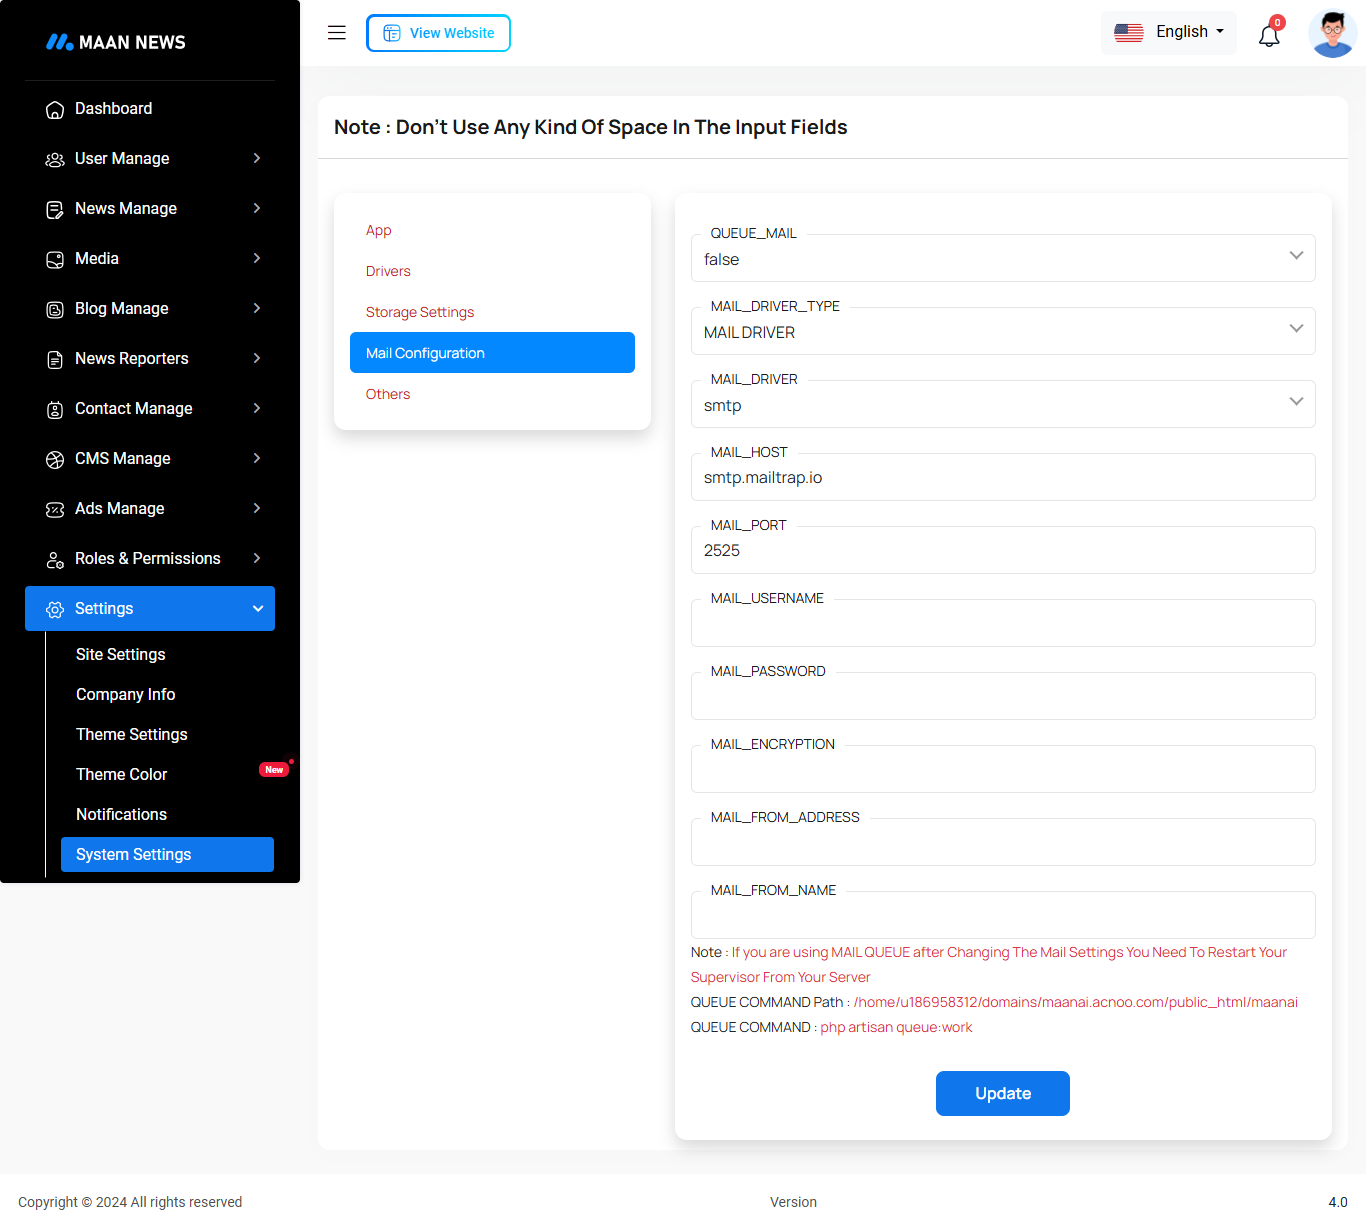
Note: Please note that if you change QUEUE_MAIL from false to true, you need to run the following command: php artisan queue:work. Remember: The command path should be: /home/u186958312/domains/yourdomain.com/public_html. Make sure you're in the correct path.
Note: If you're not familiar with running the command, there's another option. Simply visit yourdomain.com/queue-work and it will be executed automatically.
Note: If you select QUEUE_MAIL as true but do not run the command or visit the URL, email functionality will not work properly.
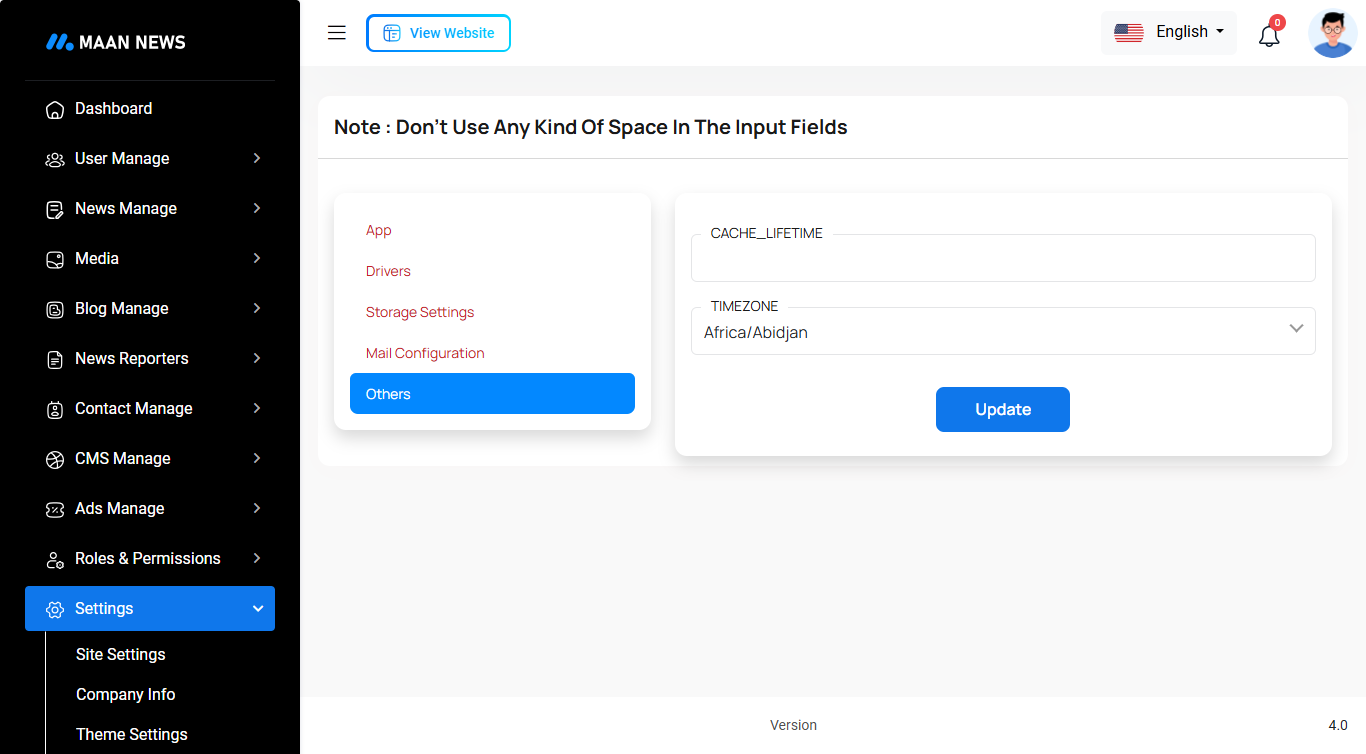
Others
Change Logs & Update guide.
Version: 5.2 ( 29 September 2025 )
- 1. 107 languages added.
- 2. Dynamic some static contents.
- 3. Fixed settings issue.
- 4. Fixed logo display issues.
- 5. Fixed category link issues.
- 6. Removed unnecessary code.
- 7. Updated installer.
- 8. Removed extra files.
- 9. Added "Share Now" option with WhatsApp link on the page.
- 10. Forget password page content made dynamic and image issues resolved.
- 11. Reset password page content made dynamic and image issues fixed.
- 12. Password show/hide issue fixed on the reset password page.
Note: Before updating to the new version, please make sure you already have a database and full project backup. This is extremely important!
Note: Please replace the following folders: app, database, lang, public/assets, public/frontend, resources, and routes. After replacing them, visit yourdomain.com/update to install the new version. Without visiting the URL, your project will not function correctly, so ensure you complete this step.
Note: If you face any issues with the update, please contact us.
Version: 5.1
- 1. Fixed language issue.
- 2. Fixed some minor issues on admin panel.
Note: Before updating to the new version, please make sure you already have a database and full project backup. This is extremely important!
Note: Please replace the following folders: app, database. After replacing them, visit yourdomain.com/update to install the new version. Without visiting the URL, your project will not function correctly, so ensure you complete this step.
Note: If you face any issues with the update, please contact us.
Version: 5.0
- 1. New admin panel design added.
- 2. News category issues fixed.
- 3. News issues fixed.
- 4. Removed loop routes from the route file.
- 5. Fixed frontend issues.
- 6. Installer added.
- 7. Fixed some major issues.
- 8. Fixed design and responsive issues.
- 9. Change all form submission to ajax.
Note: Before updating to the new version, please make sure you already have a database and full project backup. This is extremely important!
Note: Please replace the following folders: app, database, lang, public/admin, public/assets, public/flags, public/frontend, resources, and routes. After replacing them, visit yourdomain.com/update to install the new version. Without visiting the URL, your project will not function correctly, so ensure you complete this step.
Note: If you face any issues with the update, please contact us.
HELP & SUPPORT
Free support policy includes troubleshooting, technical assistance with the product only. It does not include any customization, additional features integration or concerns about third- party plugins compatibility. But, support is applied to plugin(s) we have developed and integrated ourselves. We appreciate your understanding!
If you need assistance and information on purchased product that is not covered in documentation, mail them on our support at
You can expect answer within 24-48 hours, usually as soon as possible in the order they were received.
Additionally, if any email has no response from the item owner for more than 7 days, that support email will be archived by default. However, if you need further assistance, you can mail us again.